
When satellite imagery is not enough, a complex roof, low-quality imagery, or a site you would rather capture yourself, you can photograph the site and let Pvneo build a 3D model from your photos to design on.
That process is called photogrammetry: building a 3D model from a set of overlapping photos taken around the building, usually flown with a drone to capture the roof from above. If you have done it before, you will feel right at home. If not, know there is a bit of a learning curve, capturing a good drone set for Pvneo to reconstruct takes some know-how. That capture side is a topic of its own; this guide starts with a photo set already in hand.
Step 1: Upload your photo set
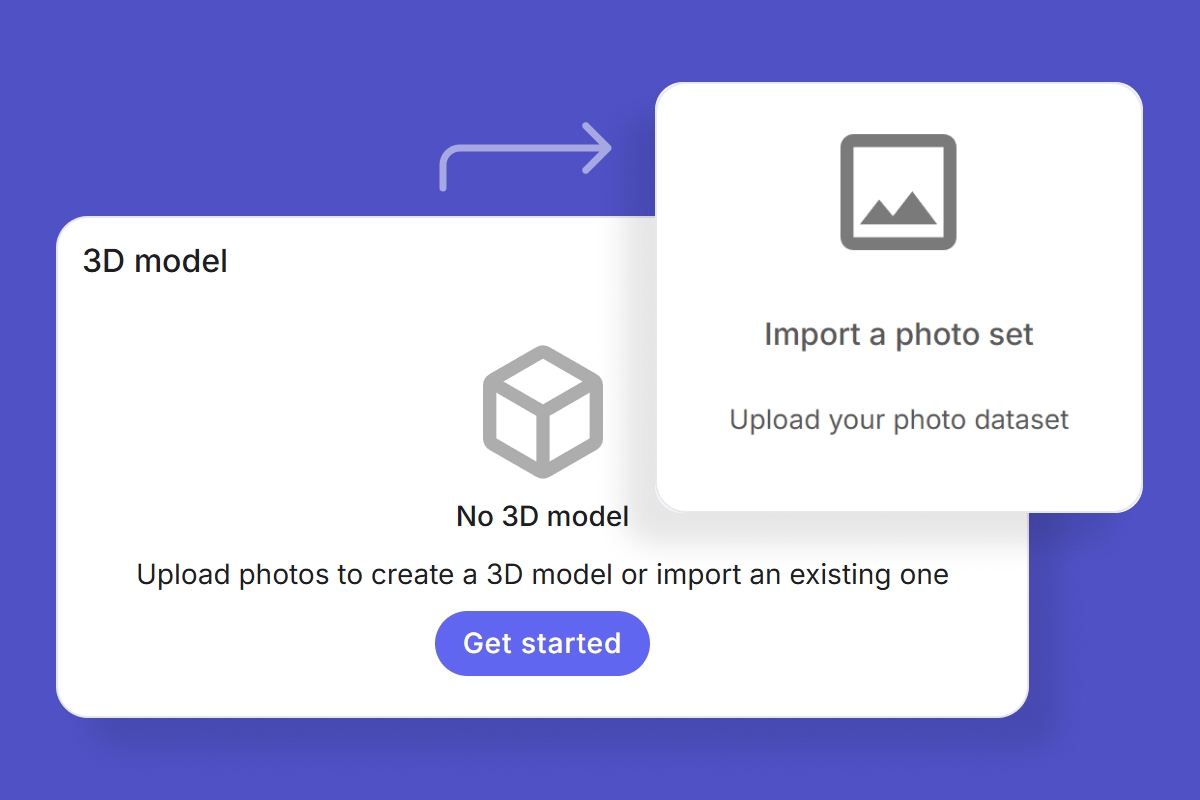
On the project Summary, in the 3D model section, click Get started, which takes you to the 3D model page. Choose Import a photo set, add your photos, and start the upload.
Step 2: Wait for processing
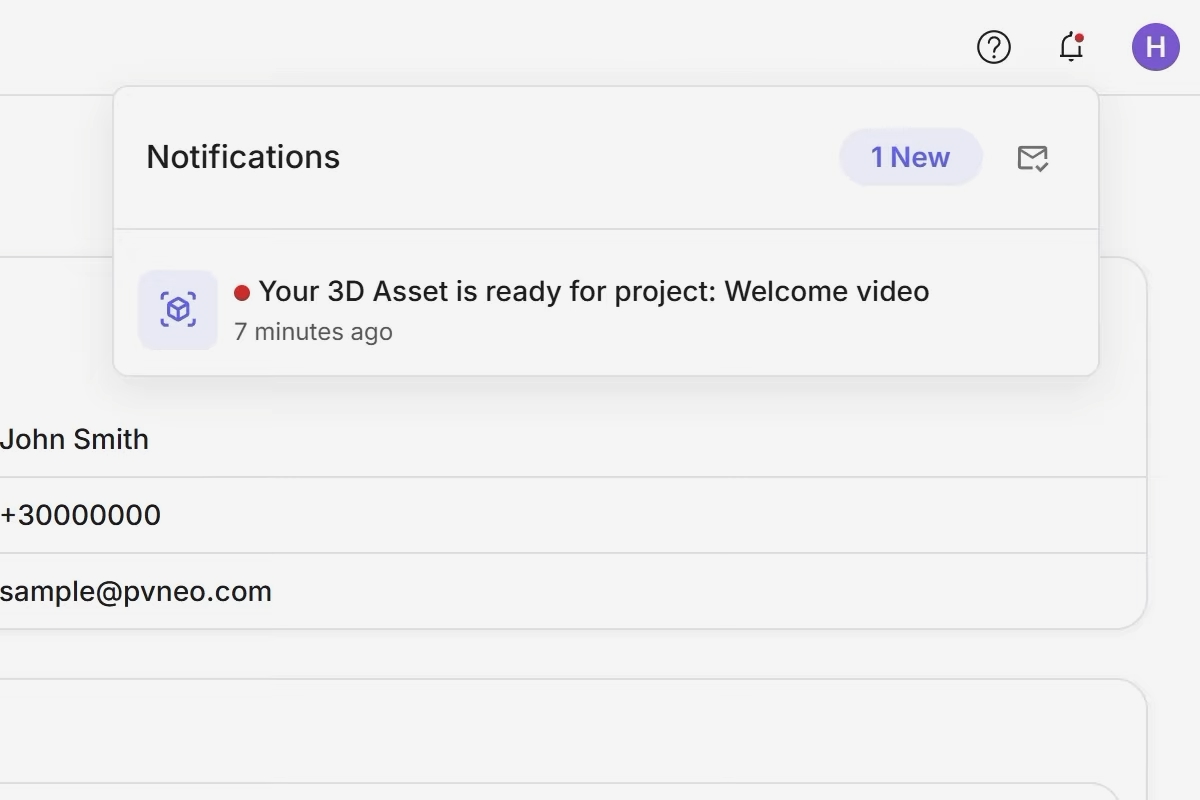
Once the upload is complete, Pvneo gets to work reconstructing the model. This takes a while, and how long depends on how many photos you have and how detailed they are. There is no need to sit and wait, though. You will get a notification in the app and an email the moment it is ready.
Step 3: Inspect the model
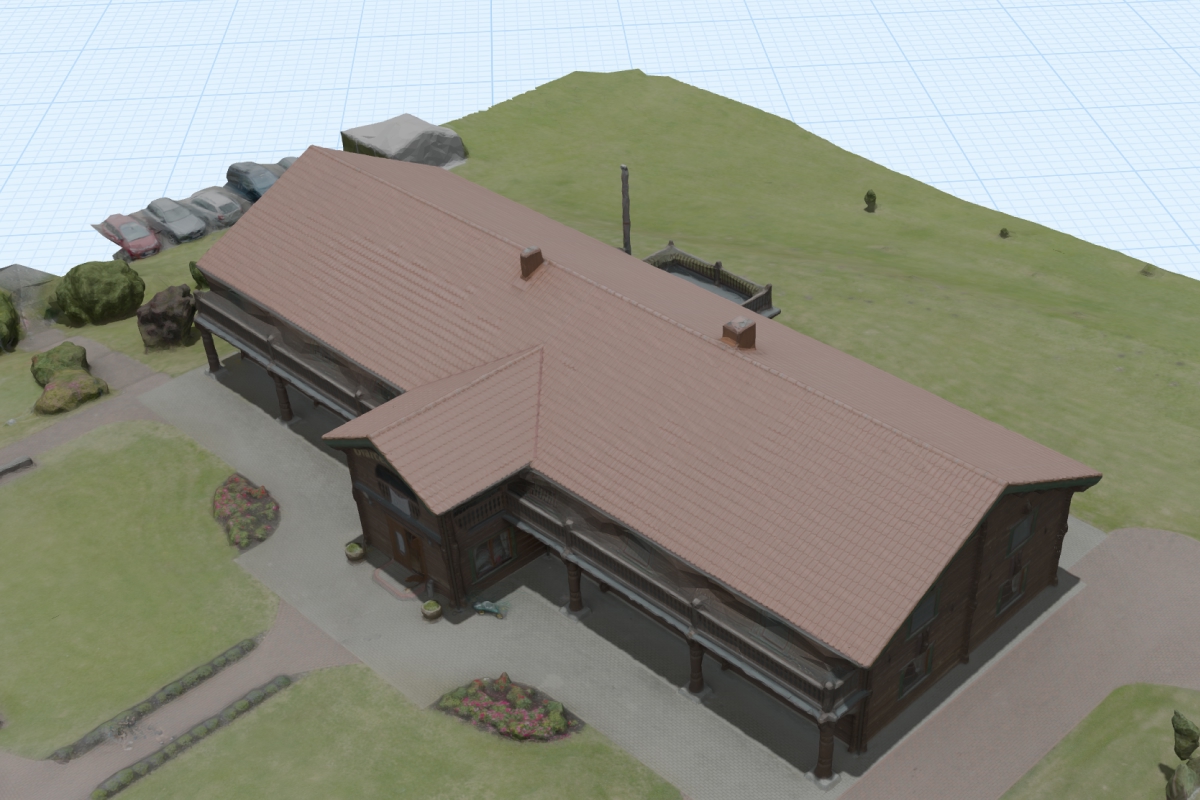
Click the notification, and it drops you on the 3D model page. Orbit around the finished reconstruction for a quick look, making sure everything came through cleanly before moving on.
Step 4: Create a design
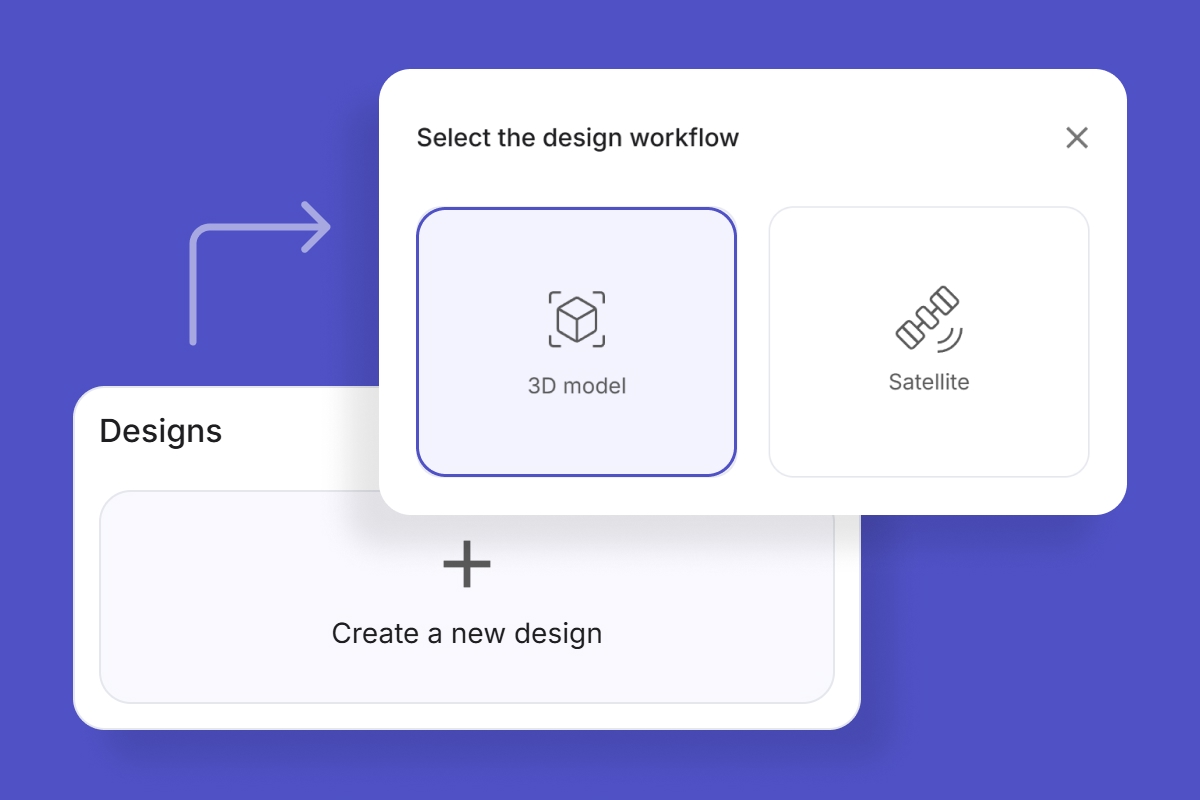
Back on the Summary, create a new design and choose the 3D model workflow. You land in the design editor, looking at the reconstruction.
Step 5: Clean up with the clipping box
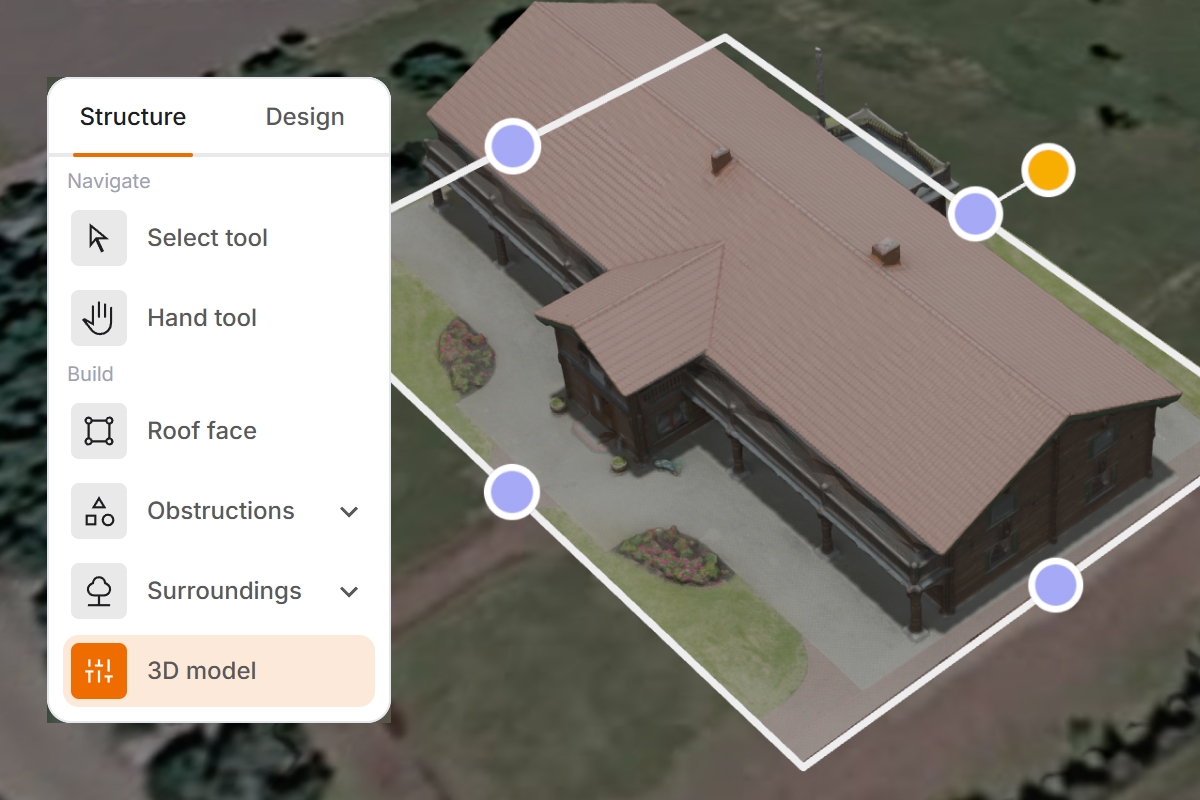
Photogrammetry captures everything around the building too, the ground, the surroundings, whatever was in shot. To clean that up, open the 3D model tool and turn on the clipping box. Resize it and rotate it to line up with the building, until it holds just the part you care about and trims the rest away.
Step 6: Align to the map
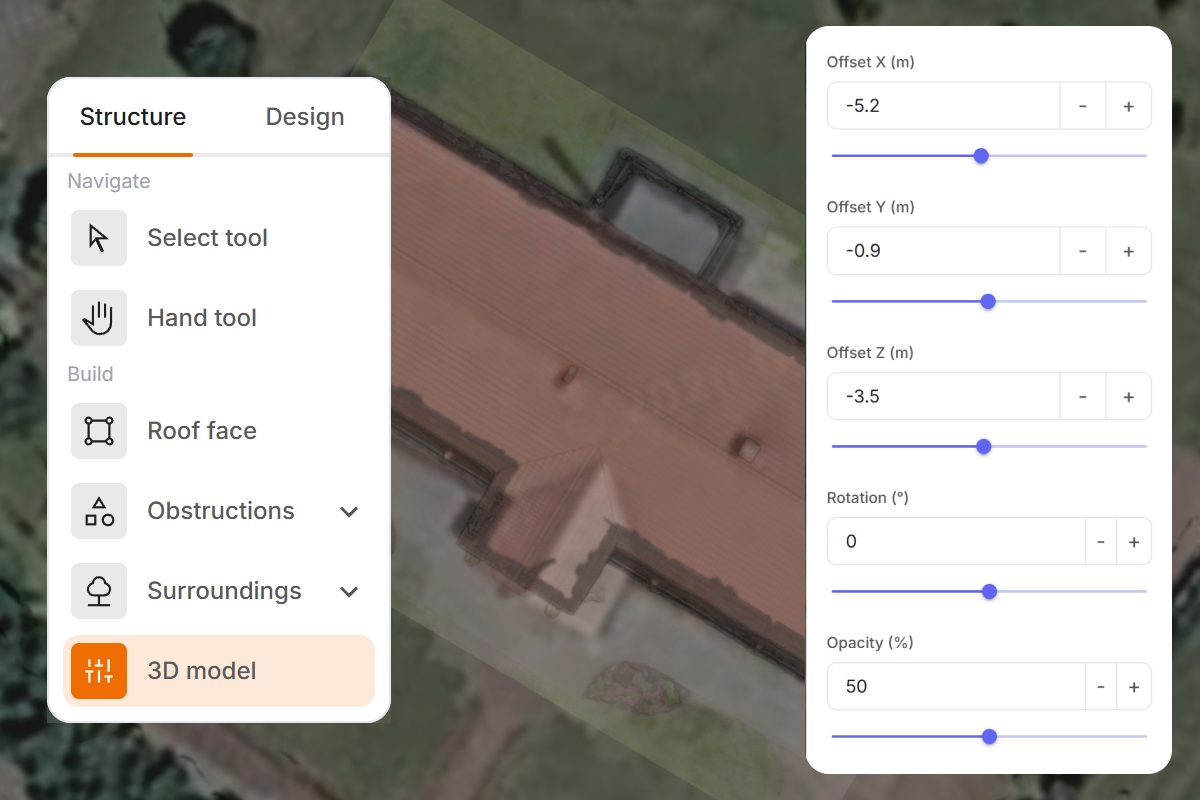
With the model cleaned up, line it up with the map underneath. Dropping the opacity lets you see through the model to the map, and the X, Y, and Z offsets let you nudge it into place until the two line up.
Step 7: Draw the roof faces
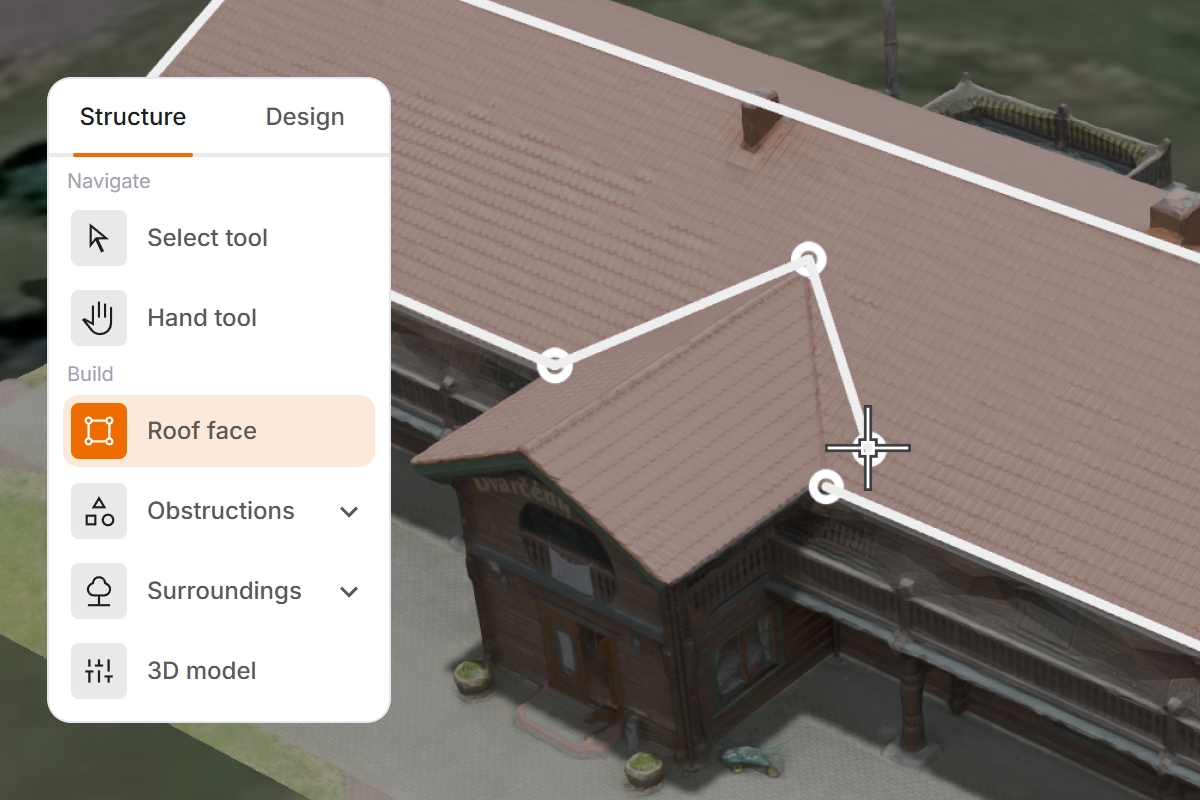
Working right on the model, trace out each roof plane as its own face. Since the surface is already 3D, every face comes in at the correct slope and angle from the start.
Step 8: Obstructions
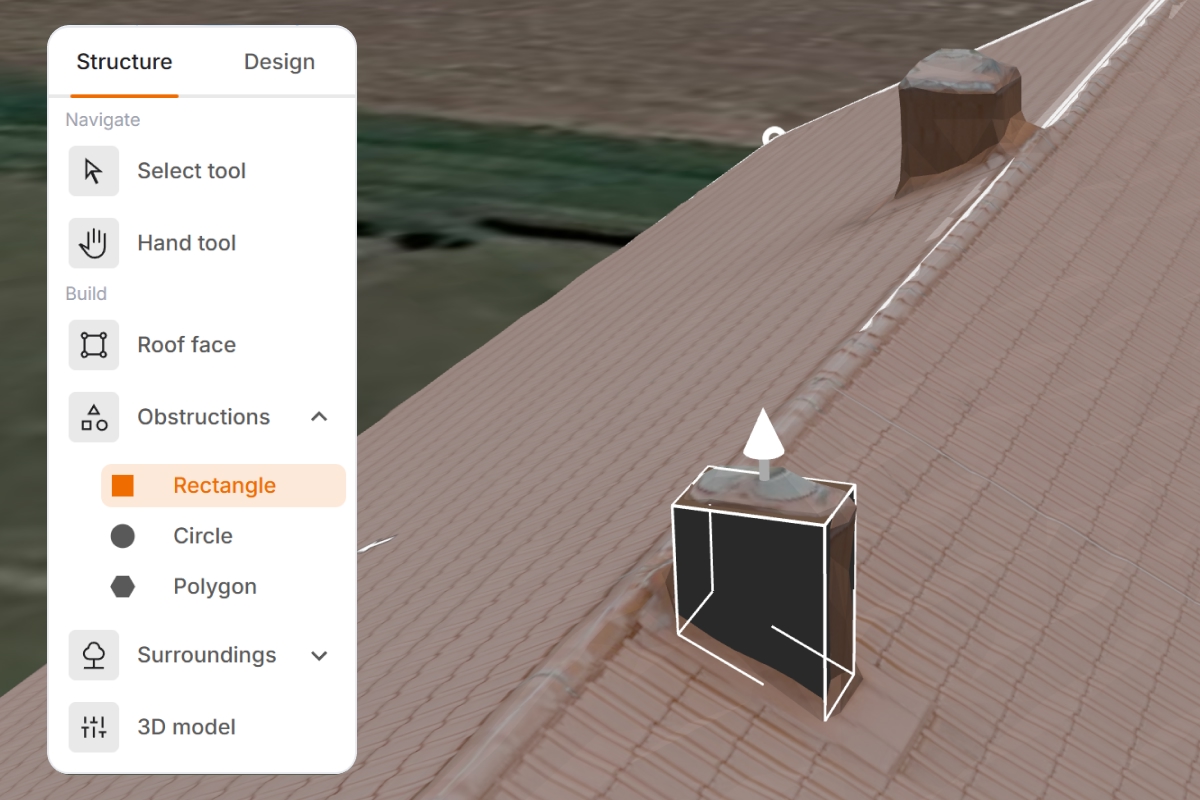
Obstructions are a judgment call here, and photogrammetry does not always get the small stuff right. A chimney or vent that reconstructed cleanly already casts its own shade, so the analysis may not need it added. But reconstructions come out rough for all sorts of reasons, so if something looks off or half-formed, draw it in yourself. And remember, SmartFill only works around obstructions you have drawn, so mark in anything you want the panels to avoid.
Step 9: Add surroundings
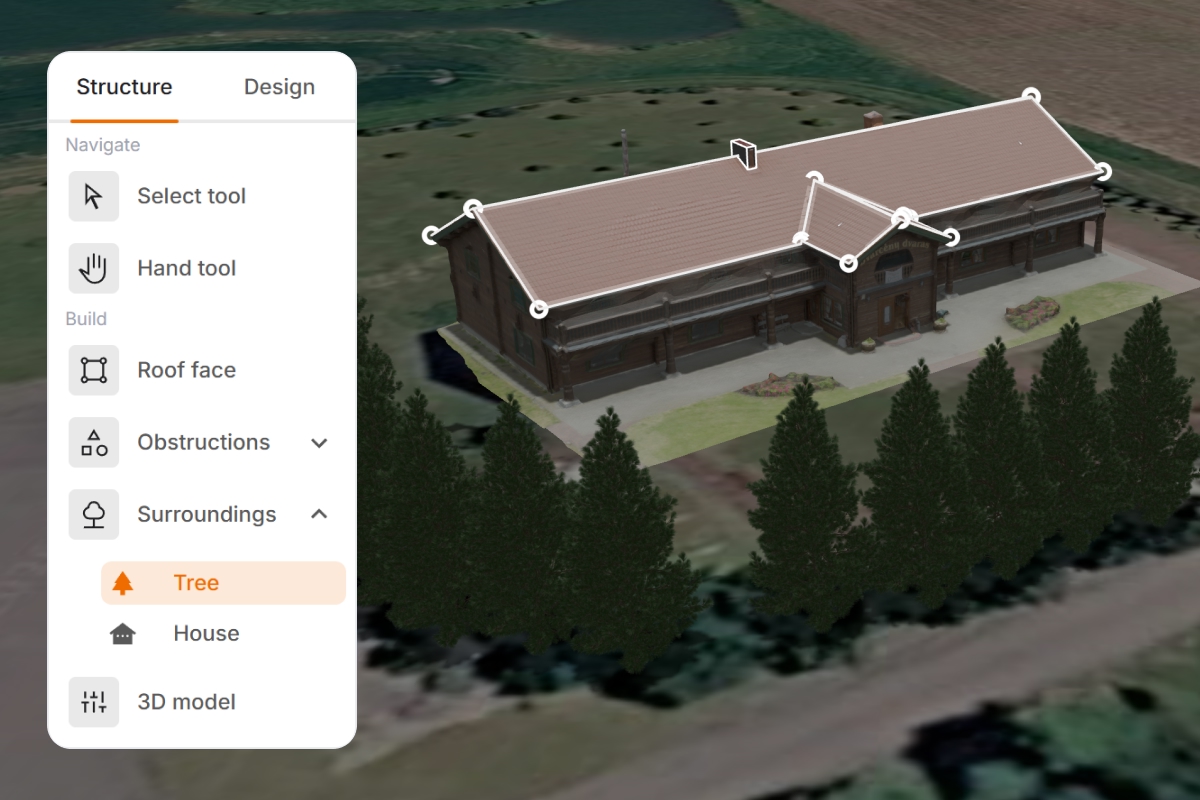
Place the nearby trees, since their shadows move across the roof through the day and Pvneo works that into the numbers. Remember to save your design as you go.
Step 10: Run the irradiance analysis
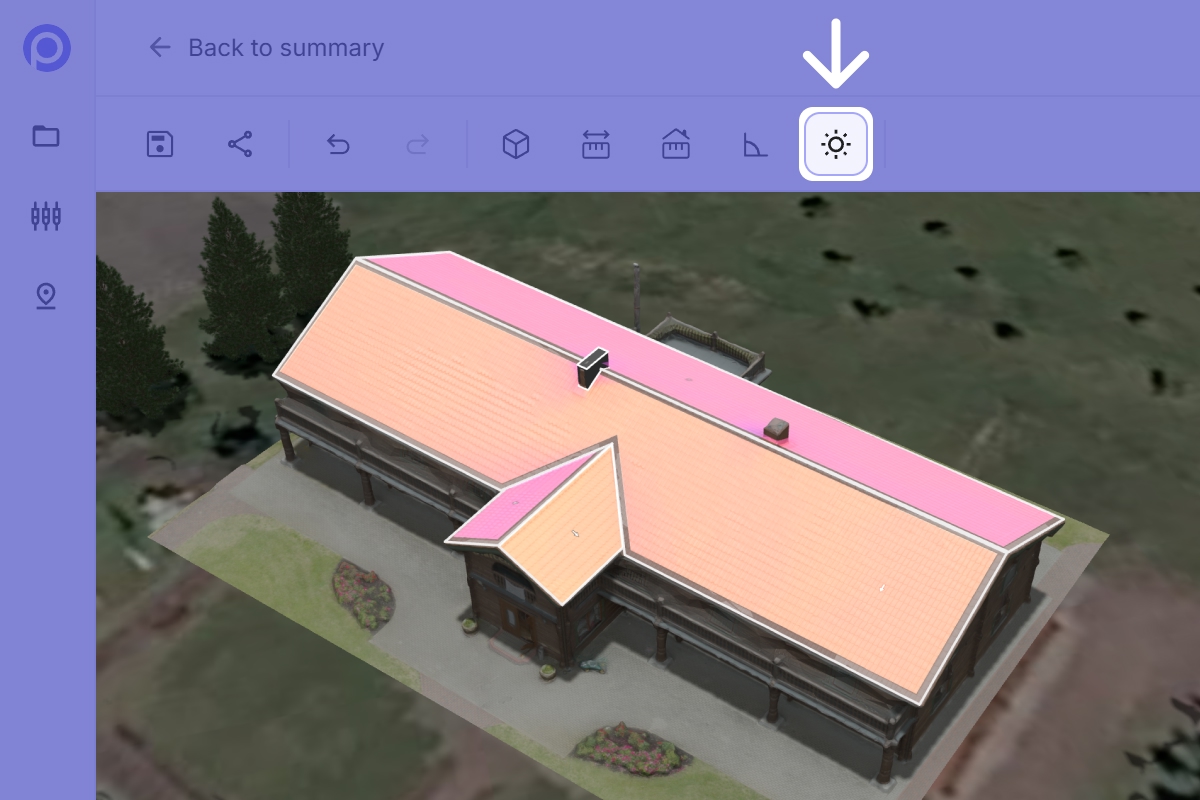
Run the irradiance analysis. It paints the roof by how much sun each part catches, warmer means stronger, so before a single panel goes down you can already see which stretches of roof are worth the space.
Step 11: Place the panels
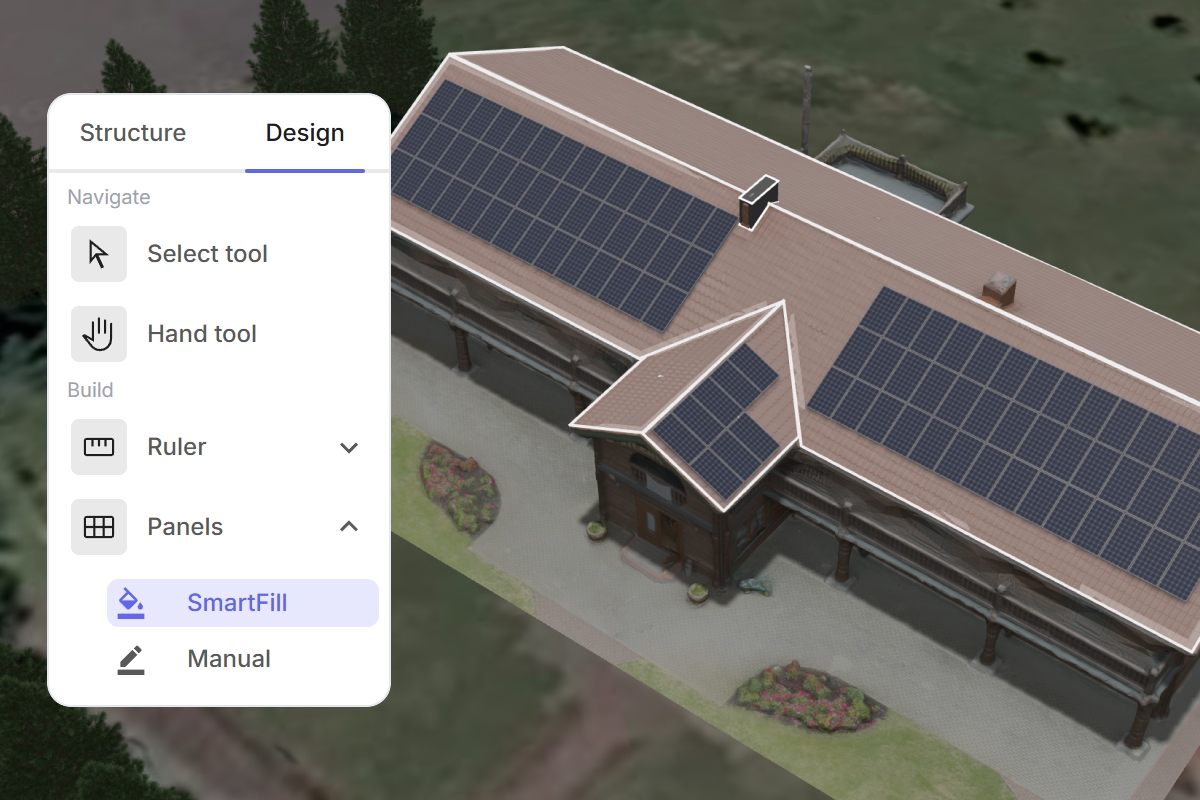
Use SmartFill to fill the roof in one step, then shape it: slide a panel over, clear a few, drop in extras where there is room. This part rewards a little patience; it is where the layout goes from fine to exactly right.
Step 12: Simulate
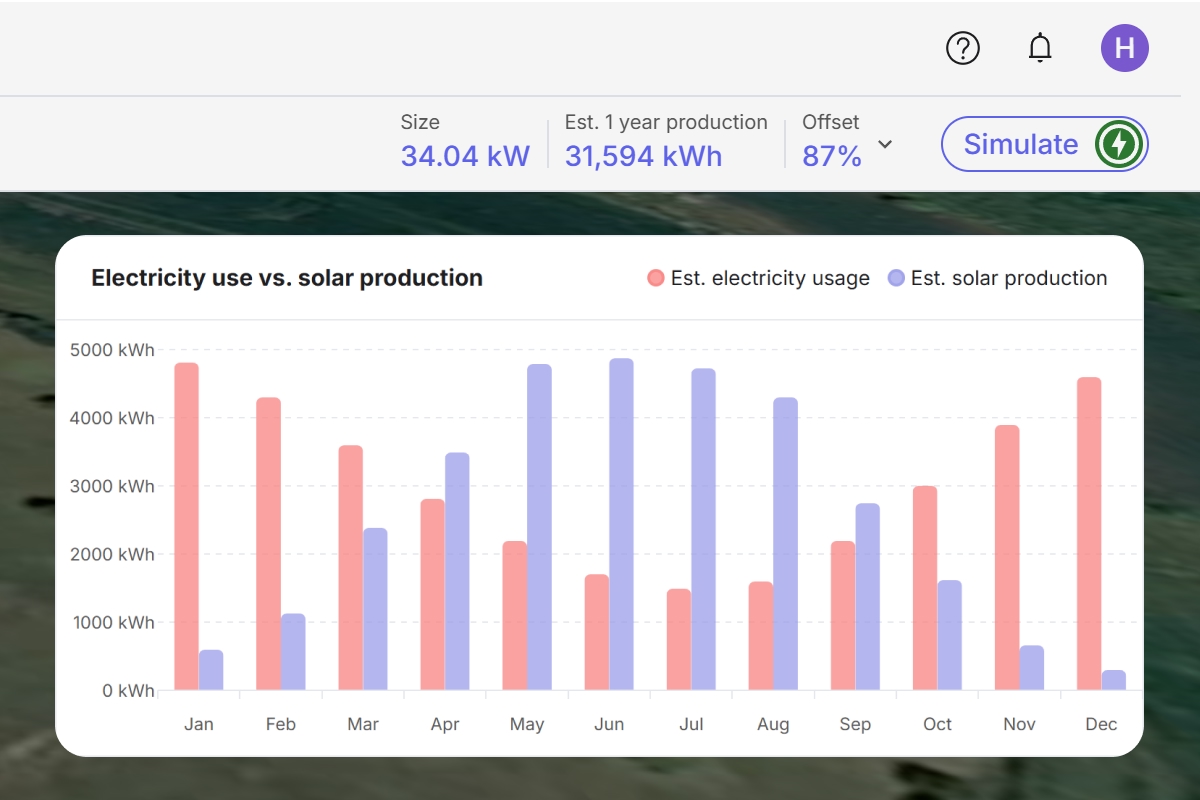
With the layout locked in, press Simulate. Out comes the first-year production, the figure your customer really wants to see, and the one that carries through into the proposal.
Good to know
- Capturing a good photo set is its own skill. The quality of your model depends heavily on the photos you feed it.
- A drone is part of the workflow, since the roof is photographed from above.
- The finish is the same as the model import workflow, drawing, analyzing, and paneling on a real 3D surface.