Pvneo is an all-in-one app for designing solar systems, simulating their performance, and sending client-ready proposals, all in one place. This guide walks you through creating your very first project and the setup wizard, from naming the project to choosing how you will build your design.
It takes just a few minutes, and by the end you will have a project set up and be ready to start designing.
Getting your bearings
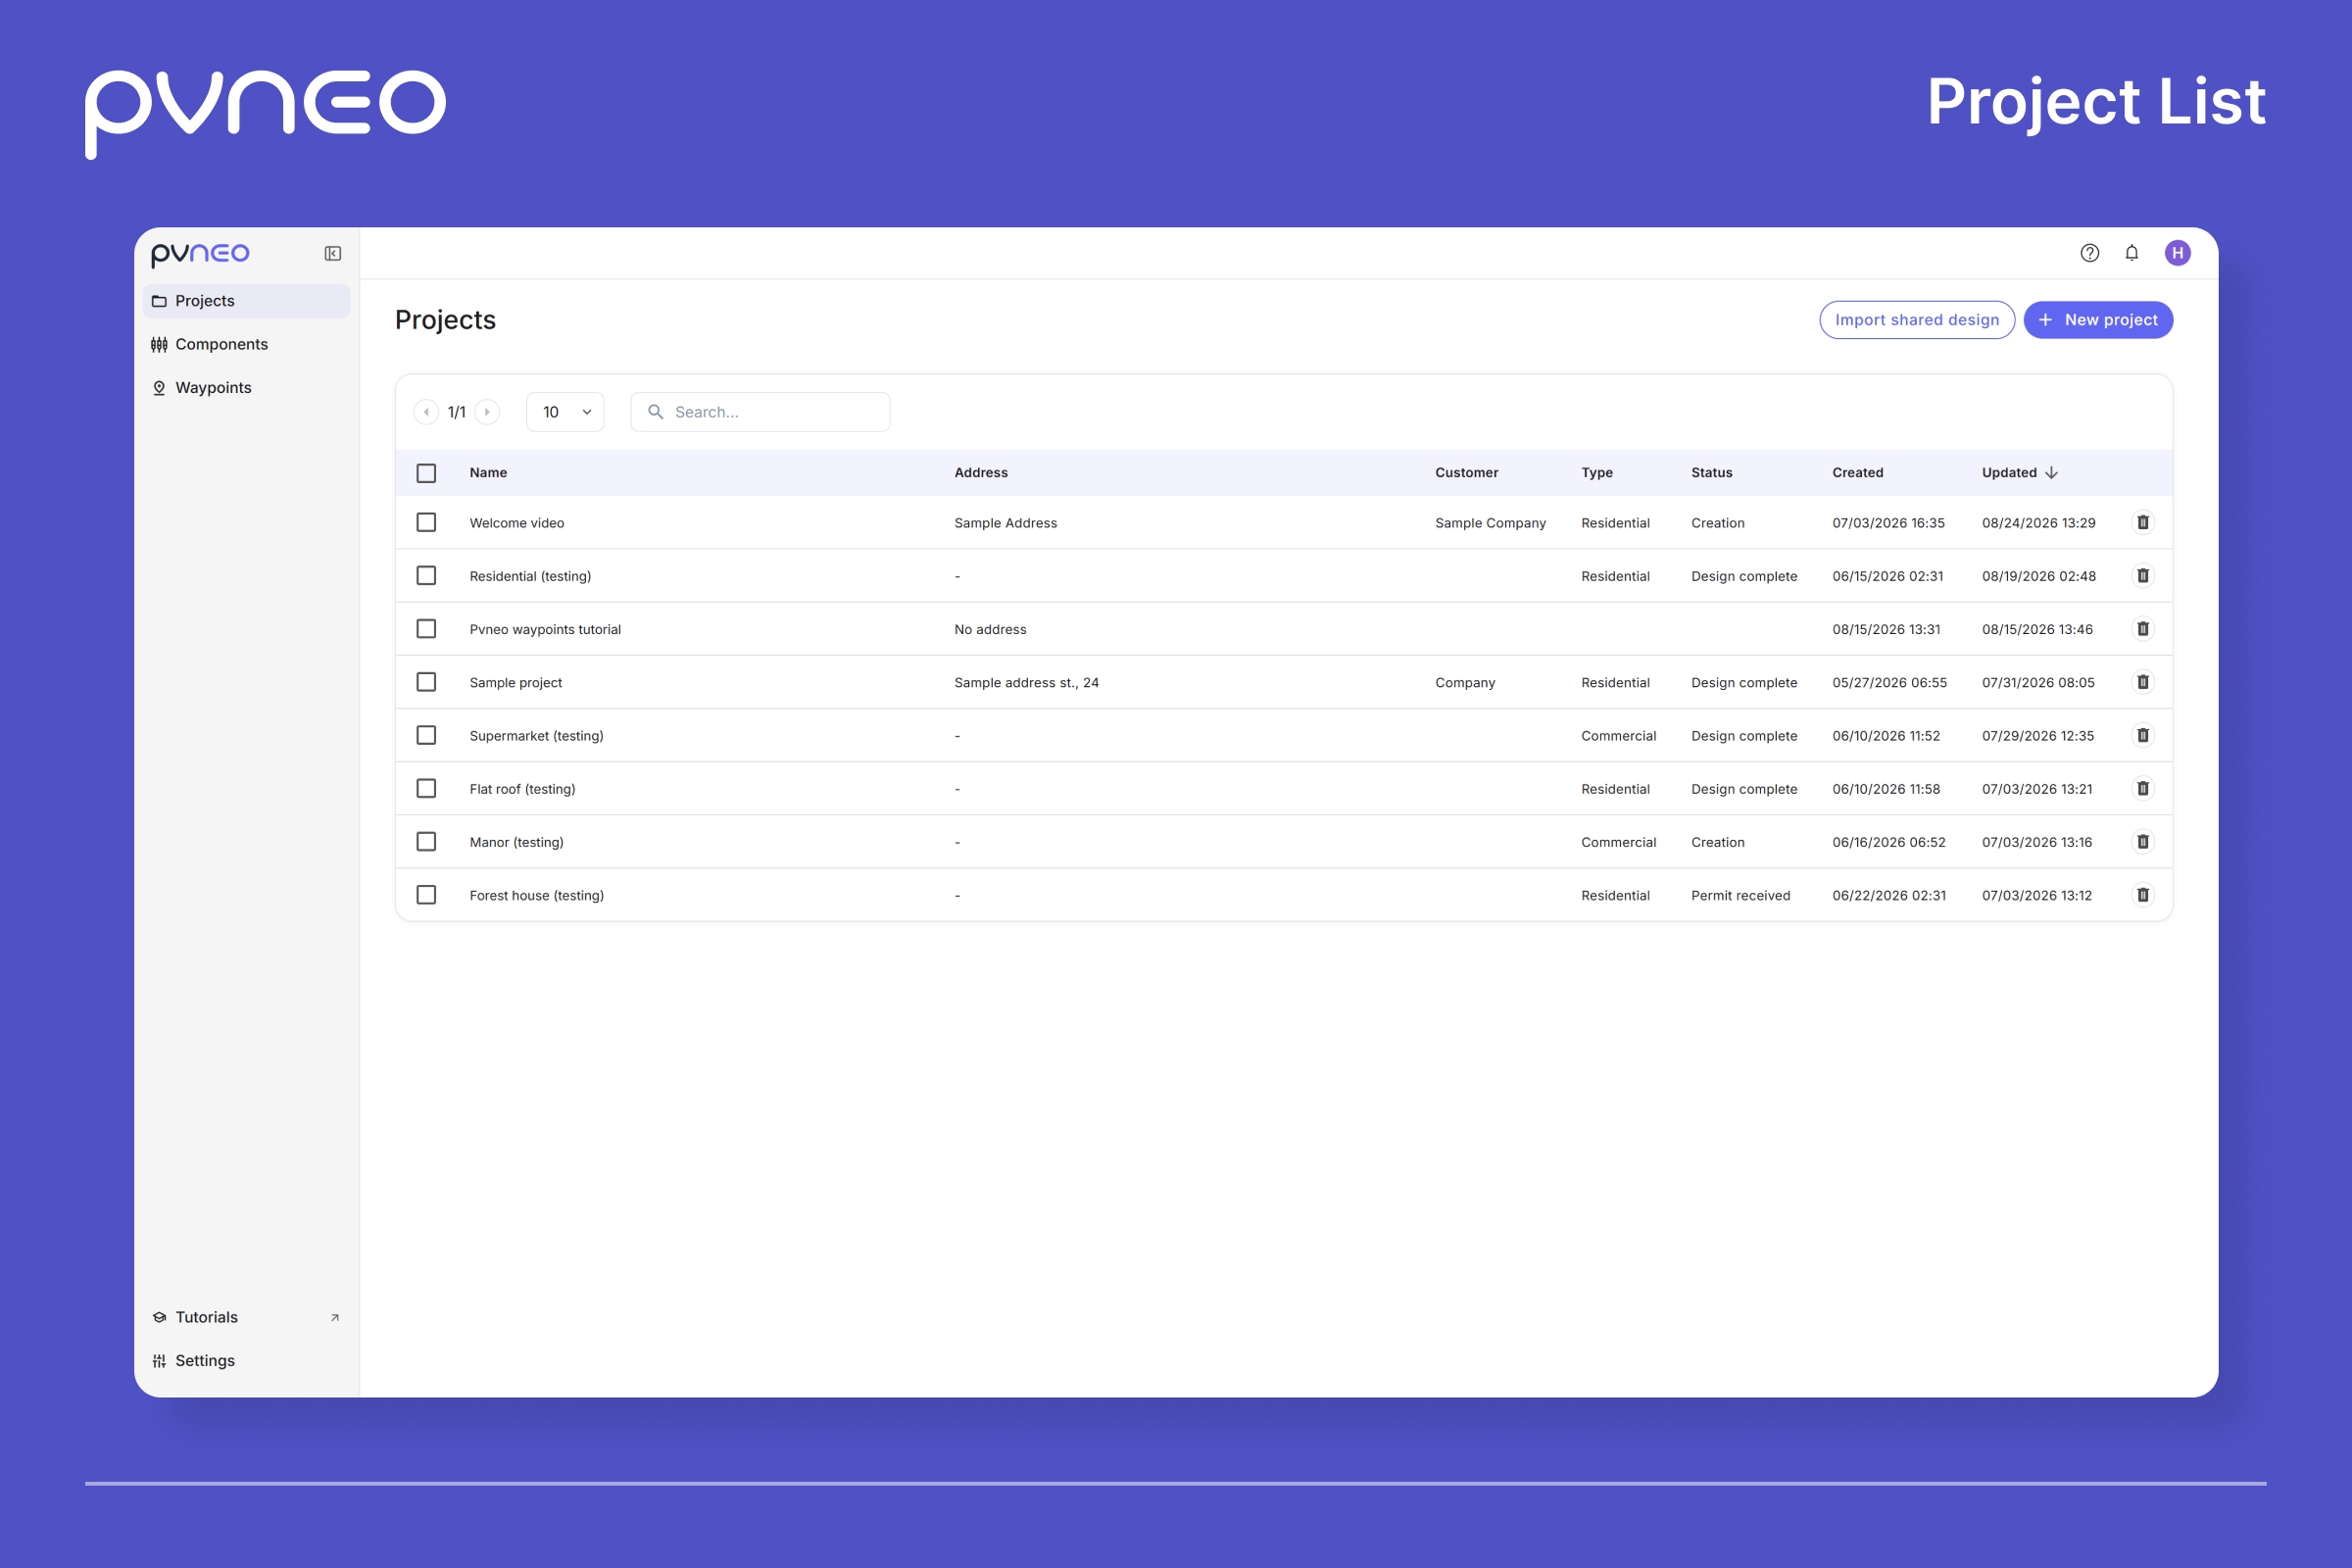
When you log in, the first screen you see is your Projects list. This is home base. Every project you create lives here, so you can jump back in anytime, pick up where you left off, or check a project's status at a glance.
On the left in the main menu you also find:
- Components is where you add the panels and inverters you will use in your projects.
- Waypoints handles drone mission planning for the latest consumer DJI drones.
- Settings holds your account and company details, and those details carry over onto the proposals you send, so it is worth filling them in up front.
You will also spot a sample project already in your list. Open it anytime to look around a finished one and see where all this is heading. When you are ready to start your own, the button you want is New project.
Step 1: Create a new project
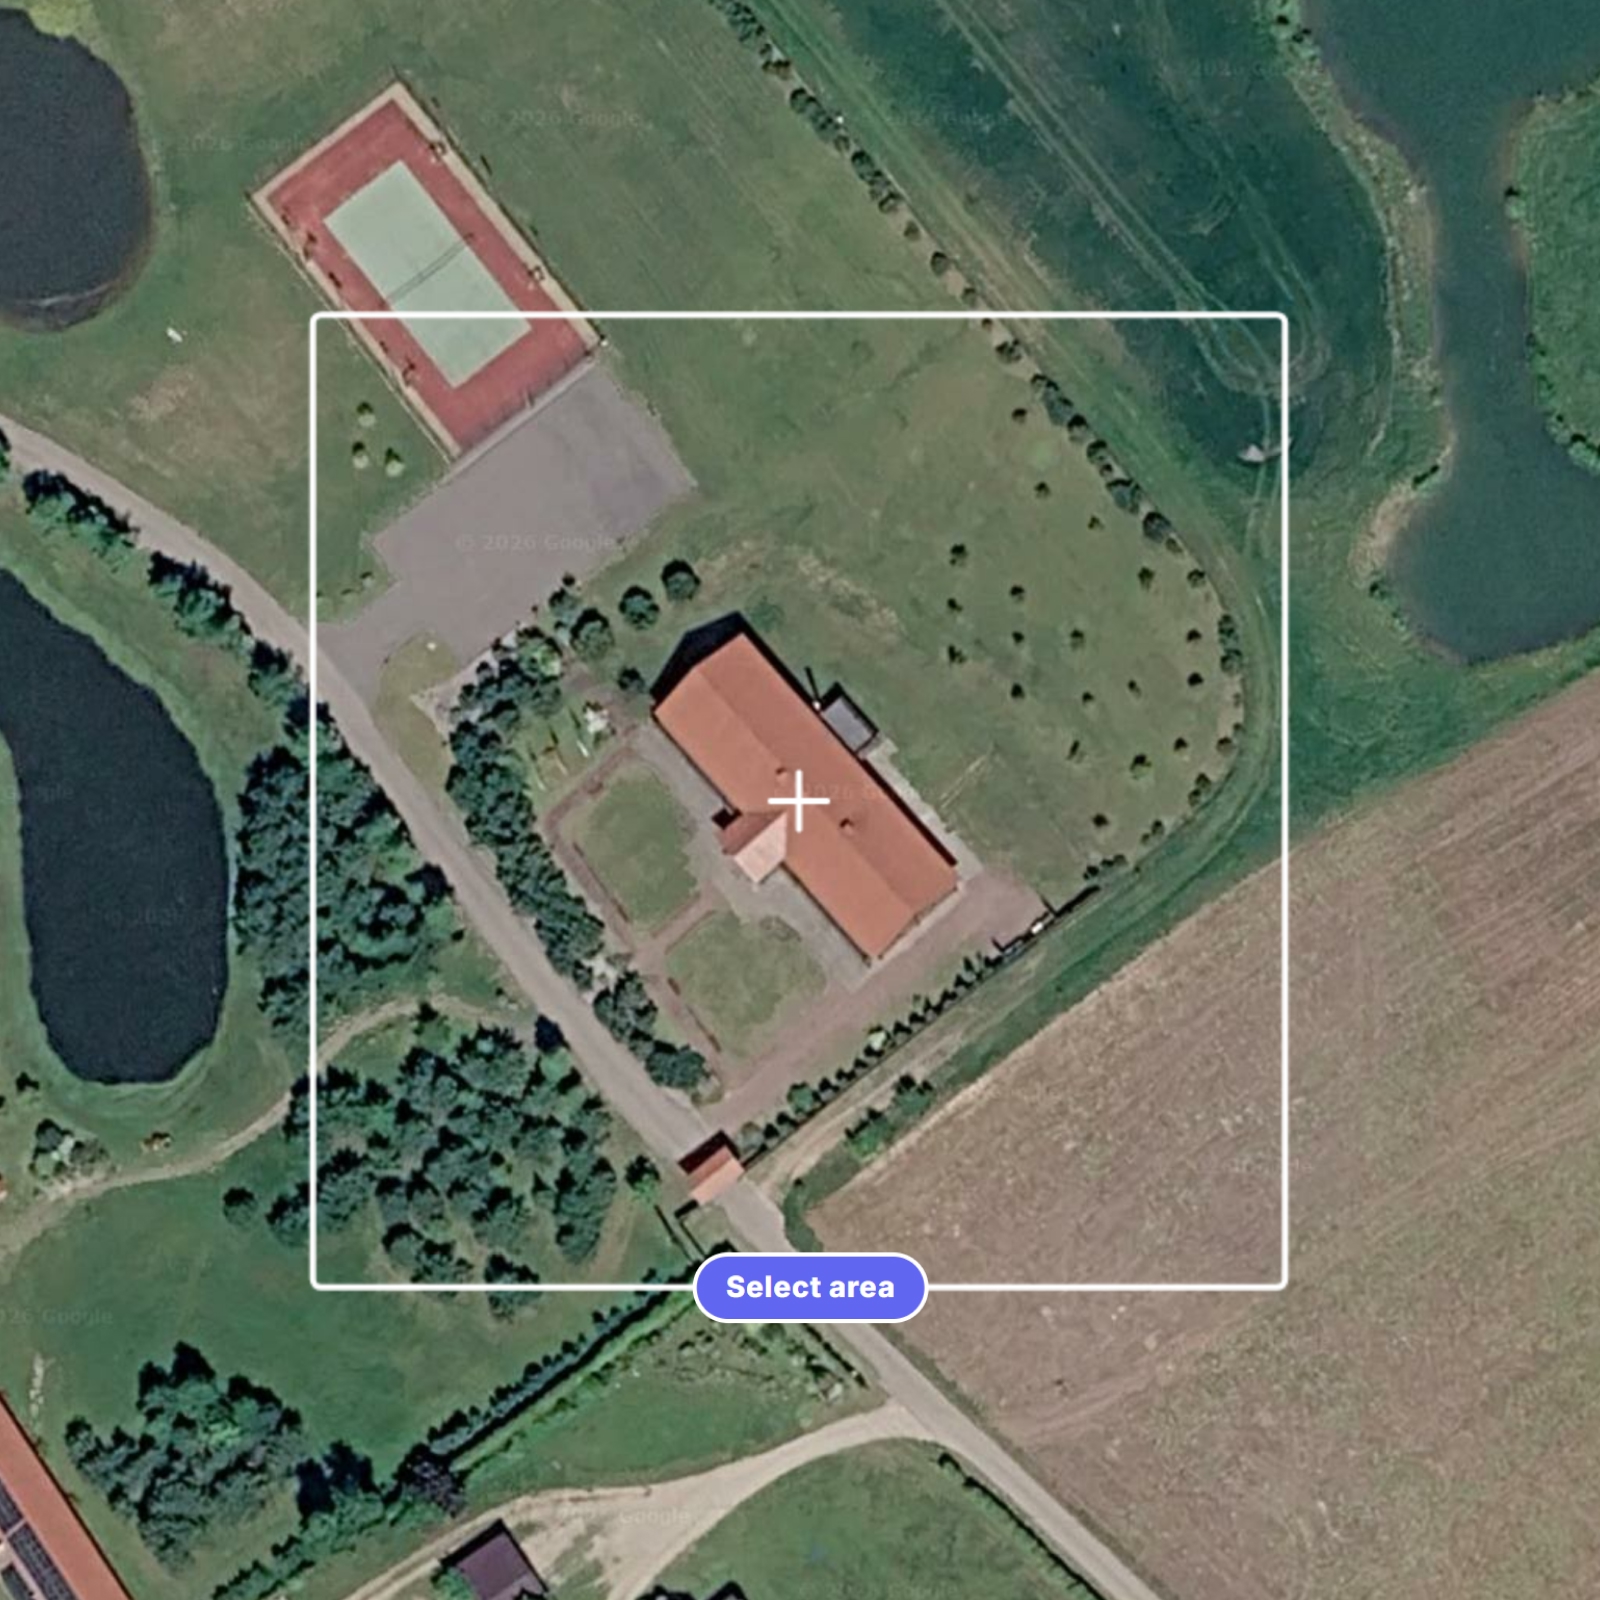
Click New project to begin. The first thing Pvneo shows you is a map. Find the site either by searching for an address or by zooming in until the roof sits inside the frame. Then click Select area, and the setup wizard opens. The wizard has four quick steps.
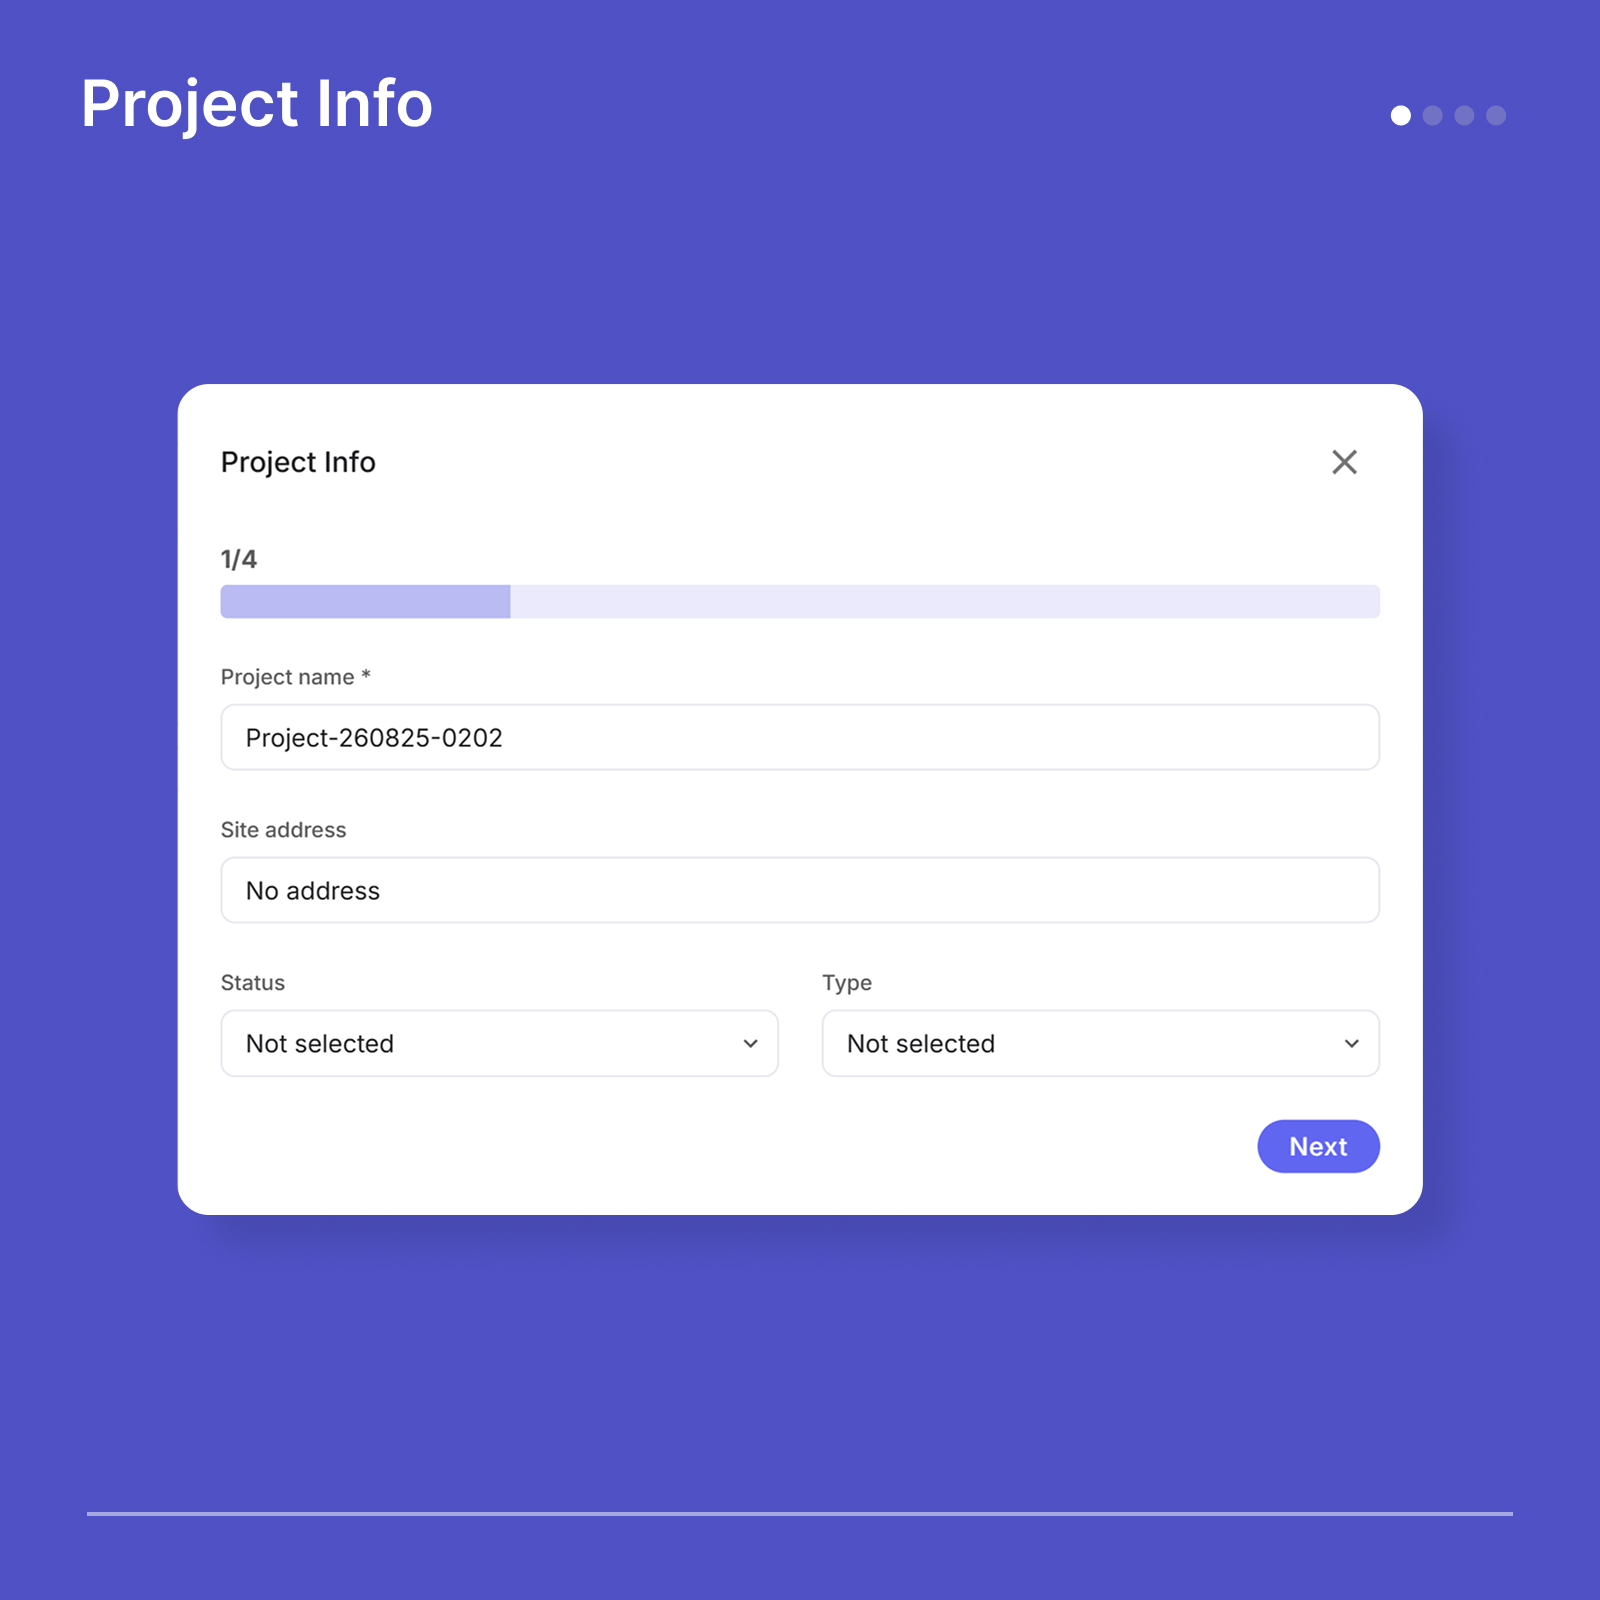
Step 2: Project info
Pvneo has already named the project for you, but you can swap that for something you will recognize later, usually the client name or the address. Check that the site address is correct, and set the Type to Residential or Commercial. There is also a Status field for tracking where a project sits in your pipeline. For a brand new project, Creation is the natural starting point.
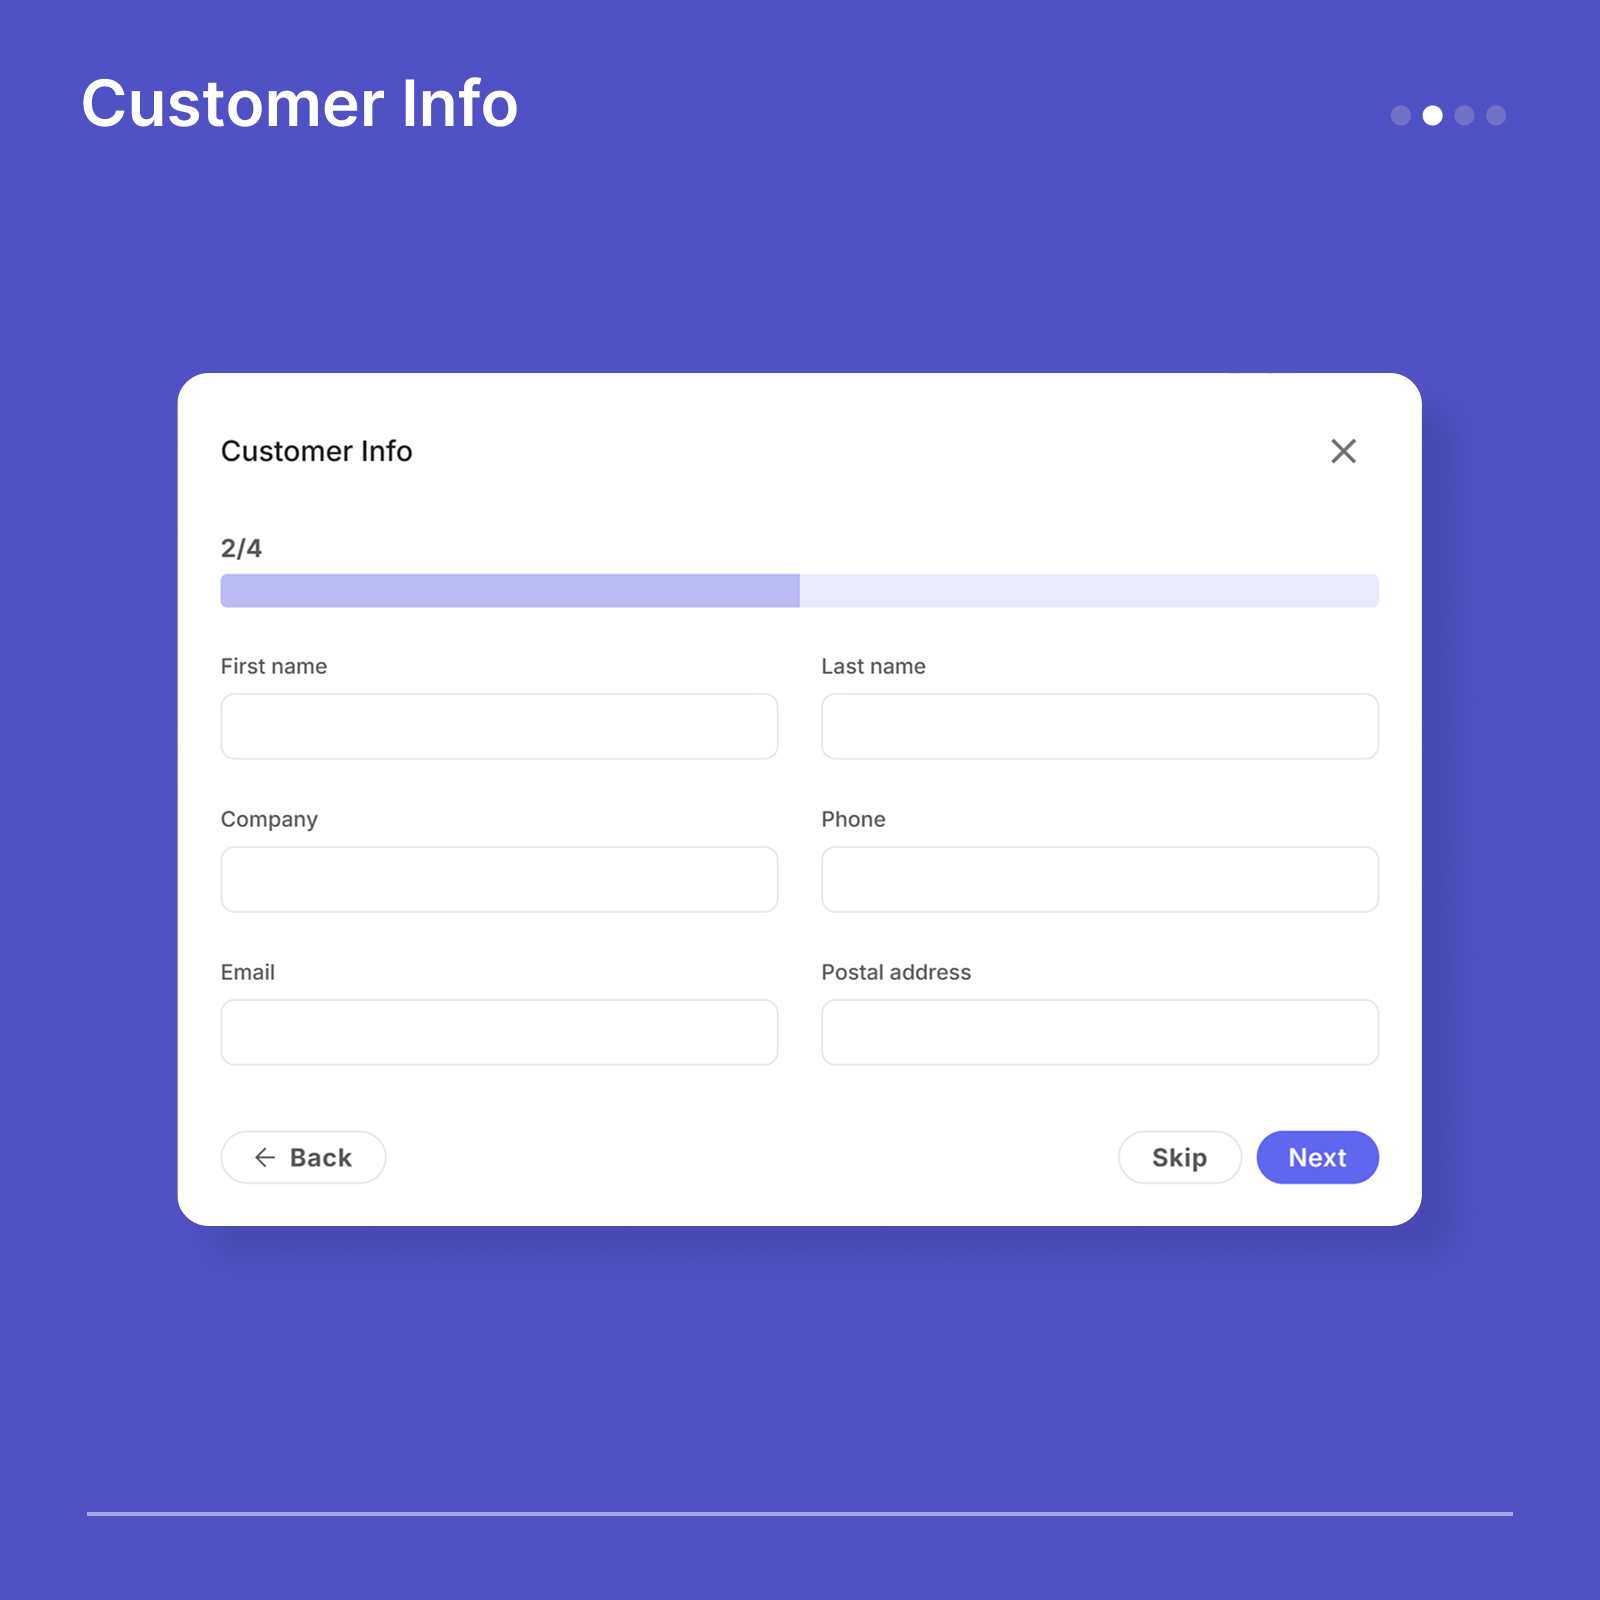
Step 3: Customer info
Add the customer this proposal is for: their name and contact details, and a company if there is one. These land on the finished proposal, so they are worth filling in. If you do not have everything yet, Skip moves you along and you can add the rest later.
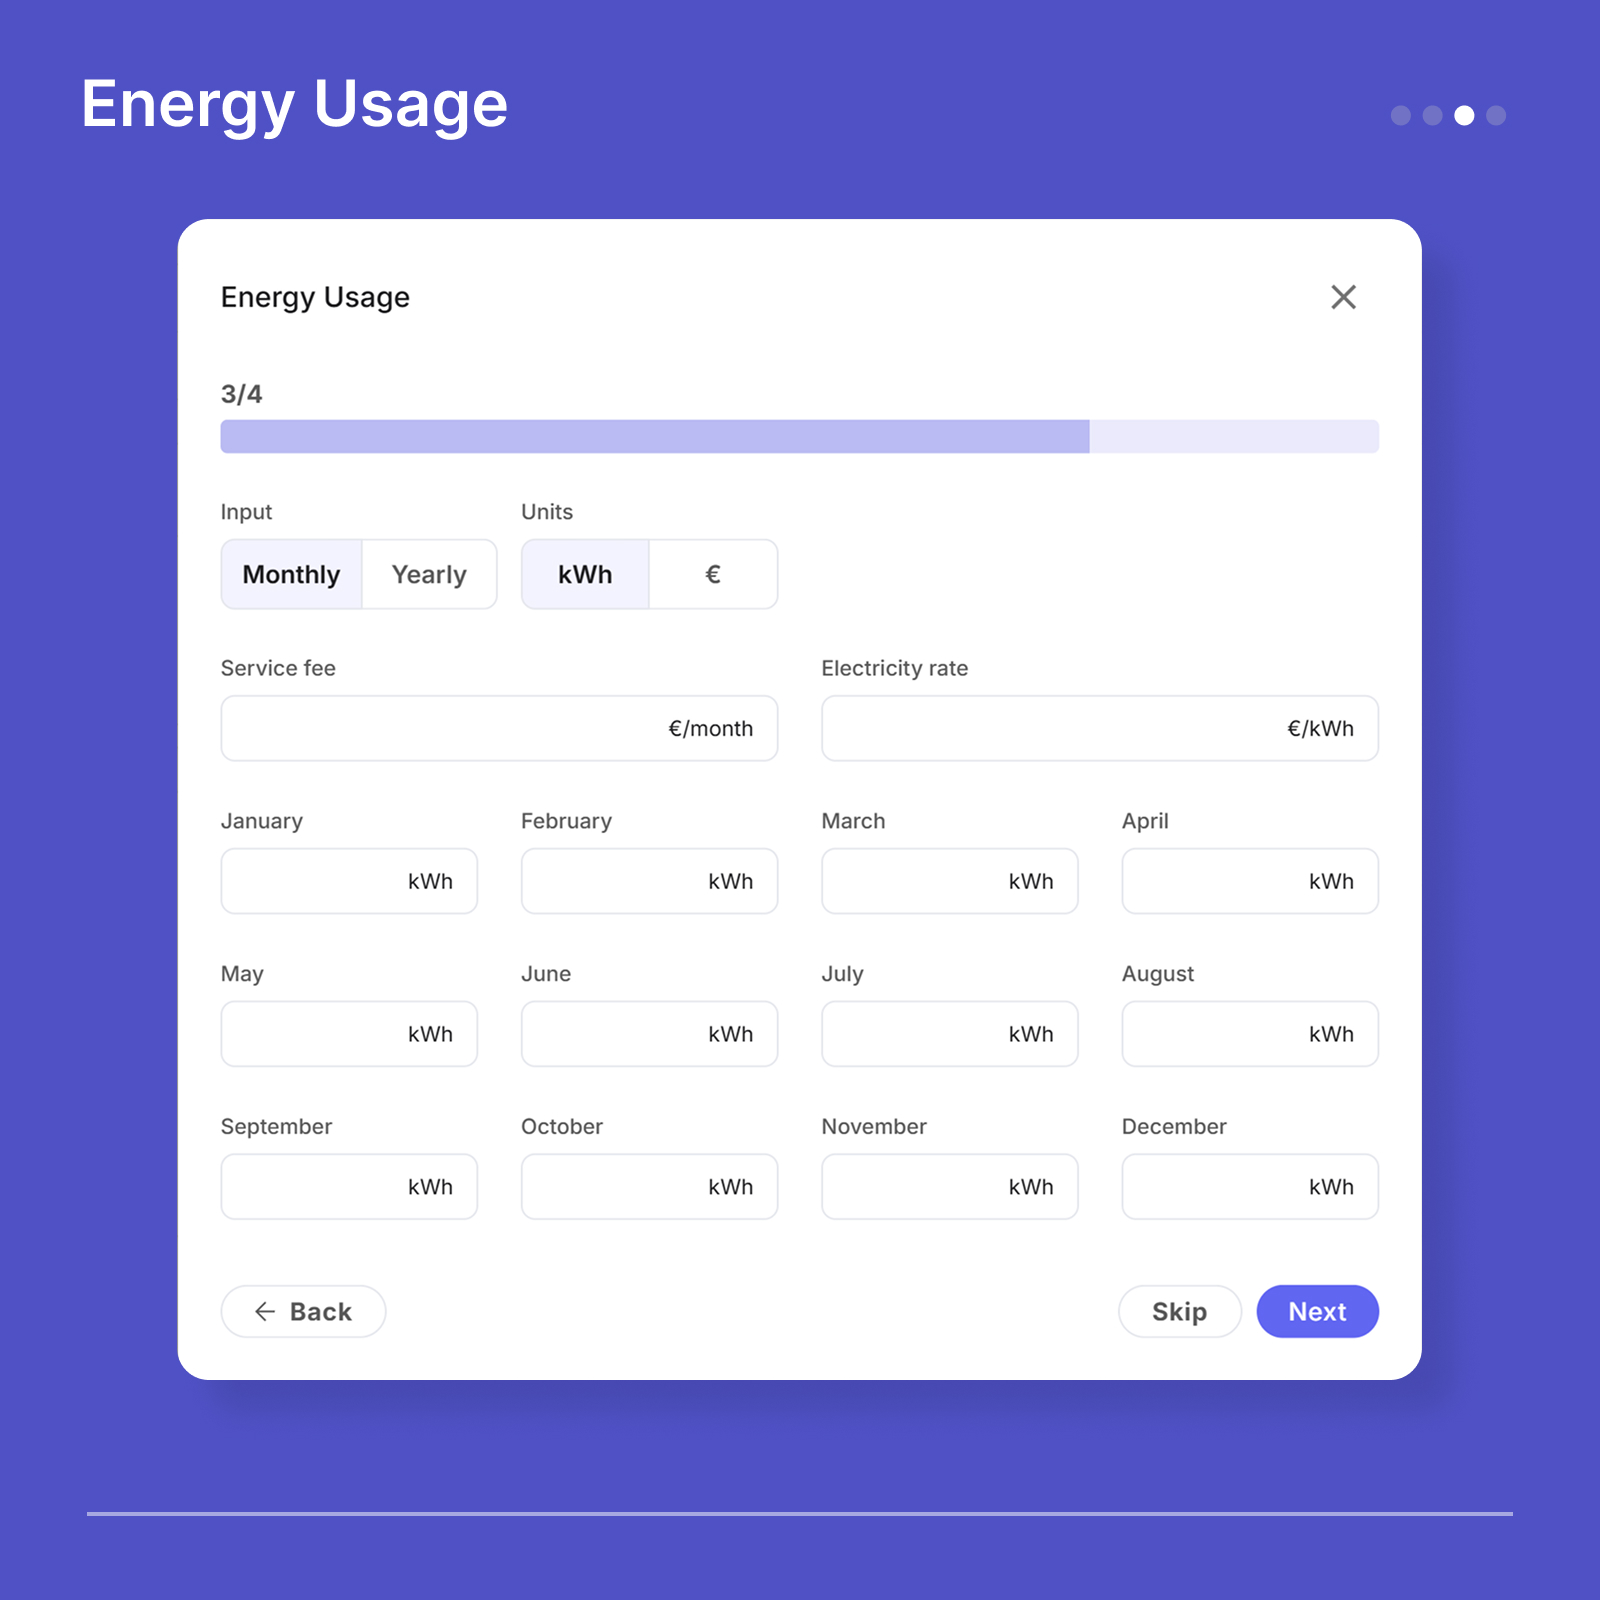
Step 4: Energy usage
Enter the customer’s current energy use. This is what Pvneo uses later to show how much they will save, so better numbers here mean a sharper proposal. You can enter it monthly or yearly, and either in kilowatt-hours or as a bill amount. The currency follows your regional settings. As before, Skip is there if you would rather come back to it.
Step 5: Choose your design workflow
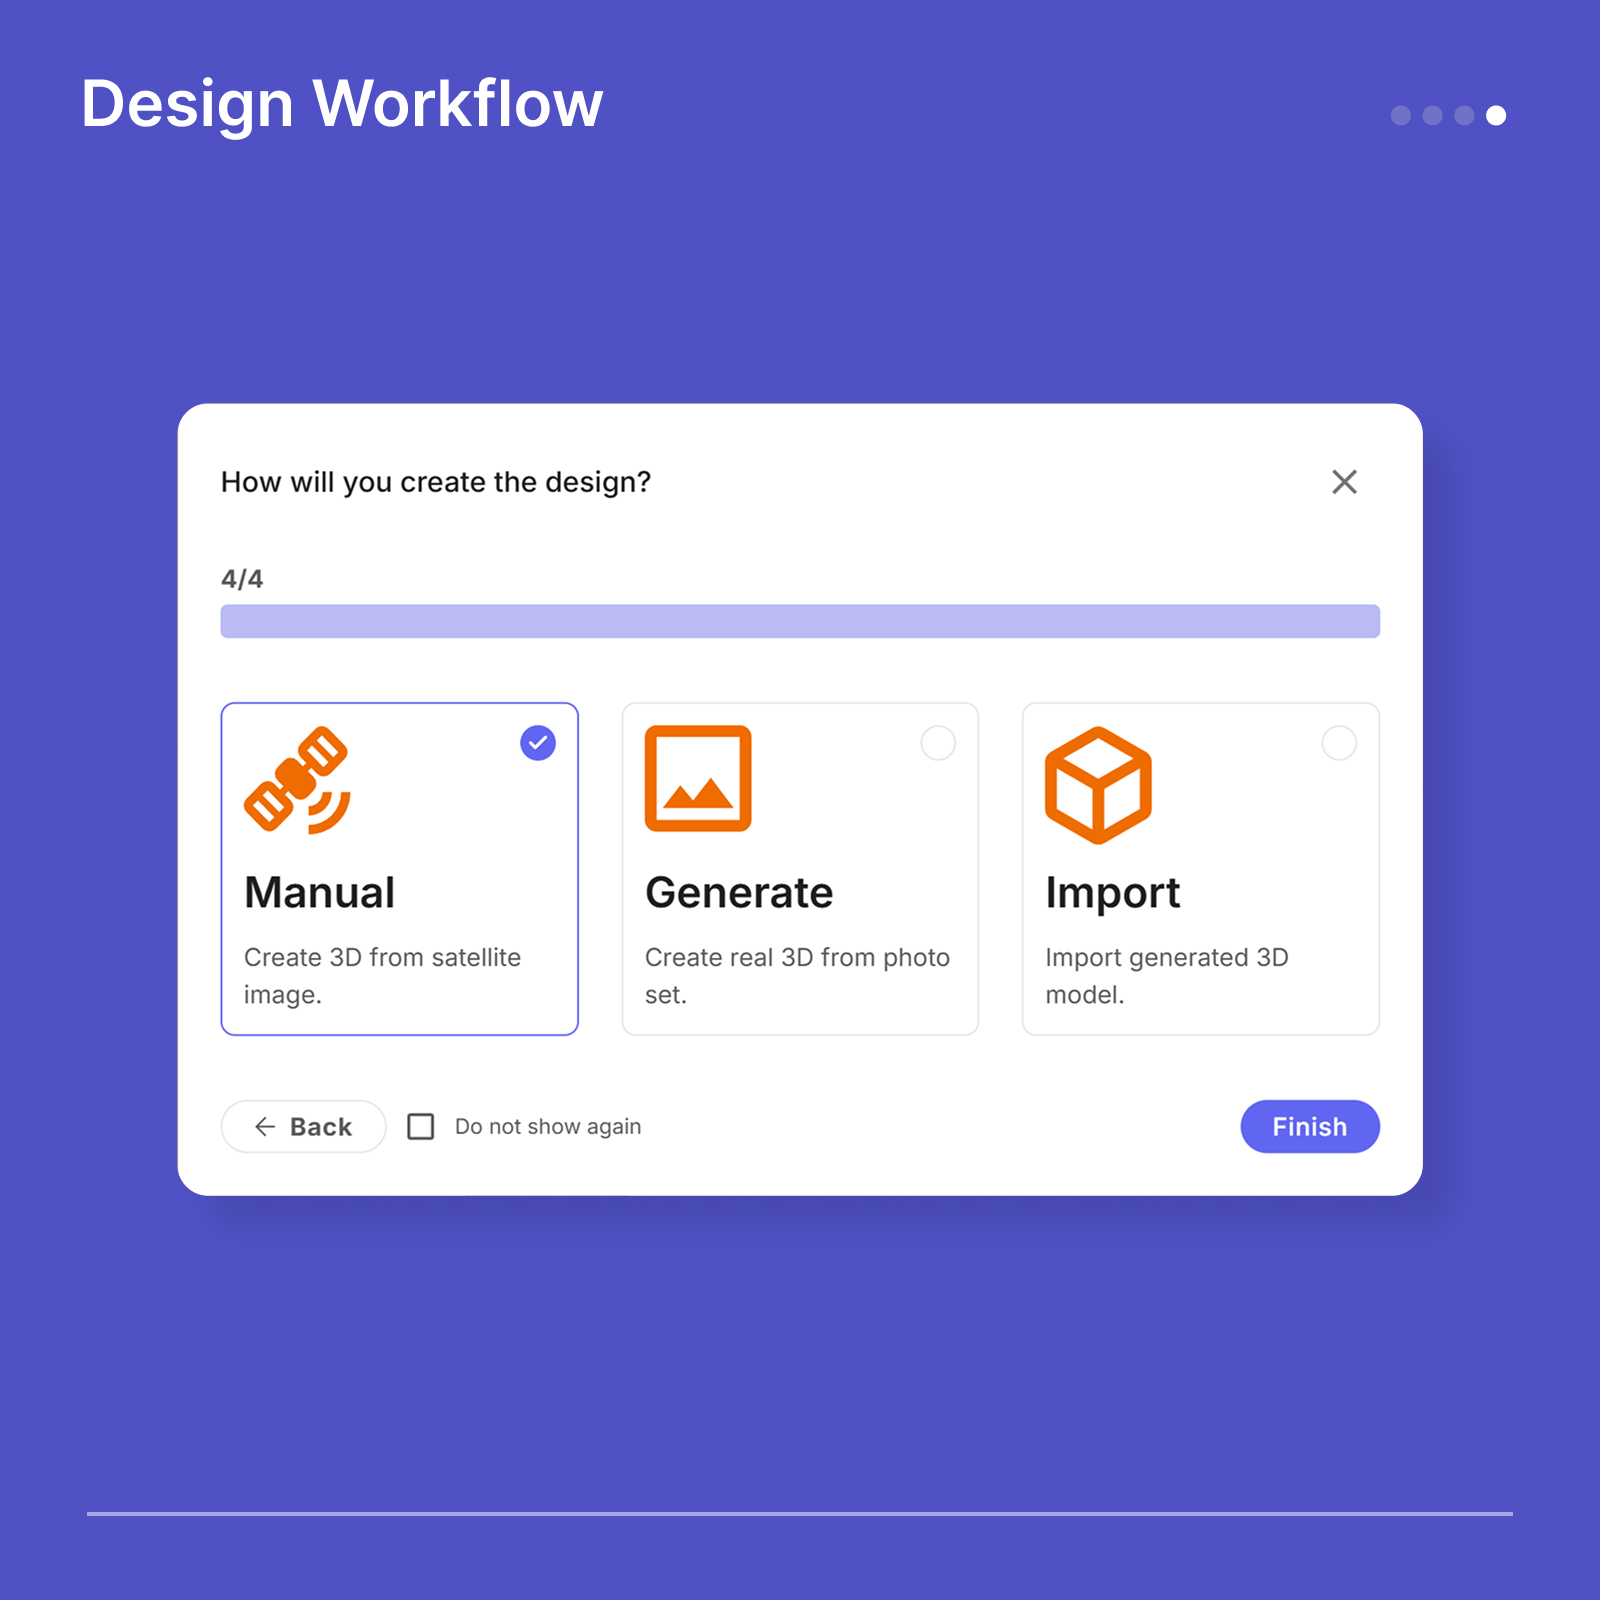
The last step is how the site becomes a 3D model. There are three ways in:
- Manual is the hands-on route, where you draw the roof yourself on satellite imagery.
- Generate builds a real 3D model automatically from a set of photos.
- Import brings in a model you already have.
For a straightforward residential roof, Manual is the fast way in. Choose your workflow and click Finish. Pvneo sets up the project and drops you straight into the design editor, ready to design.
Good to know
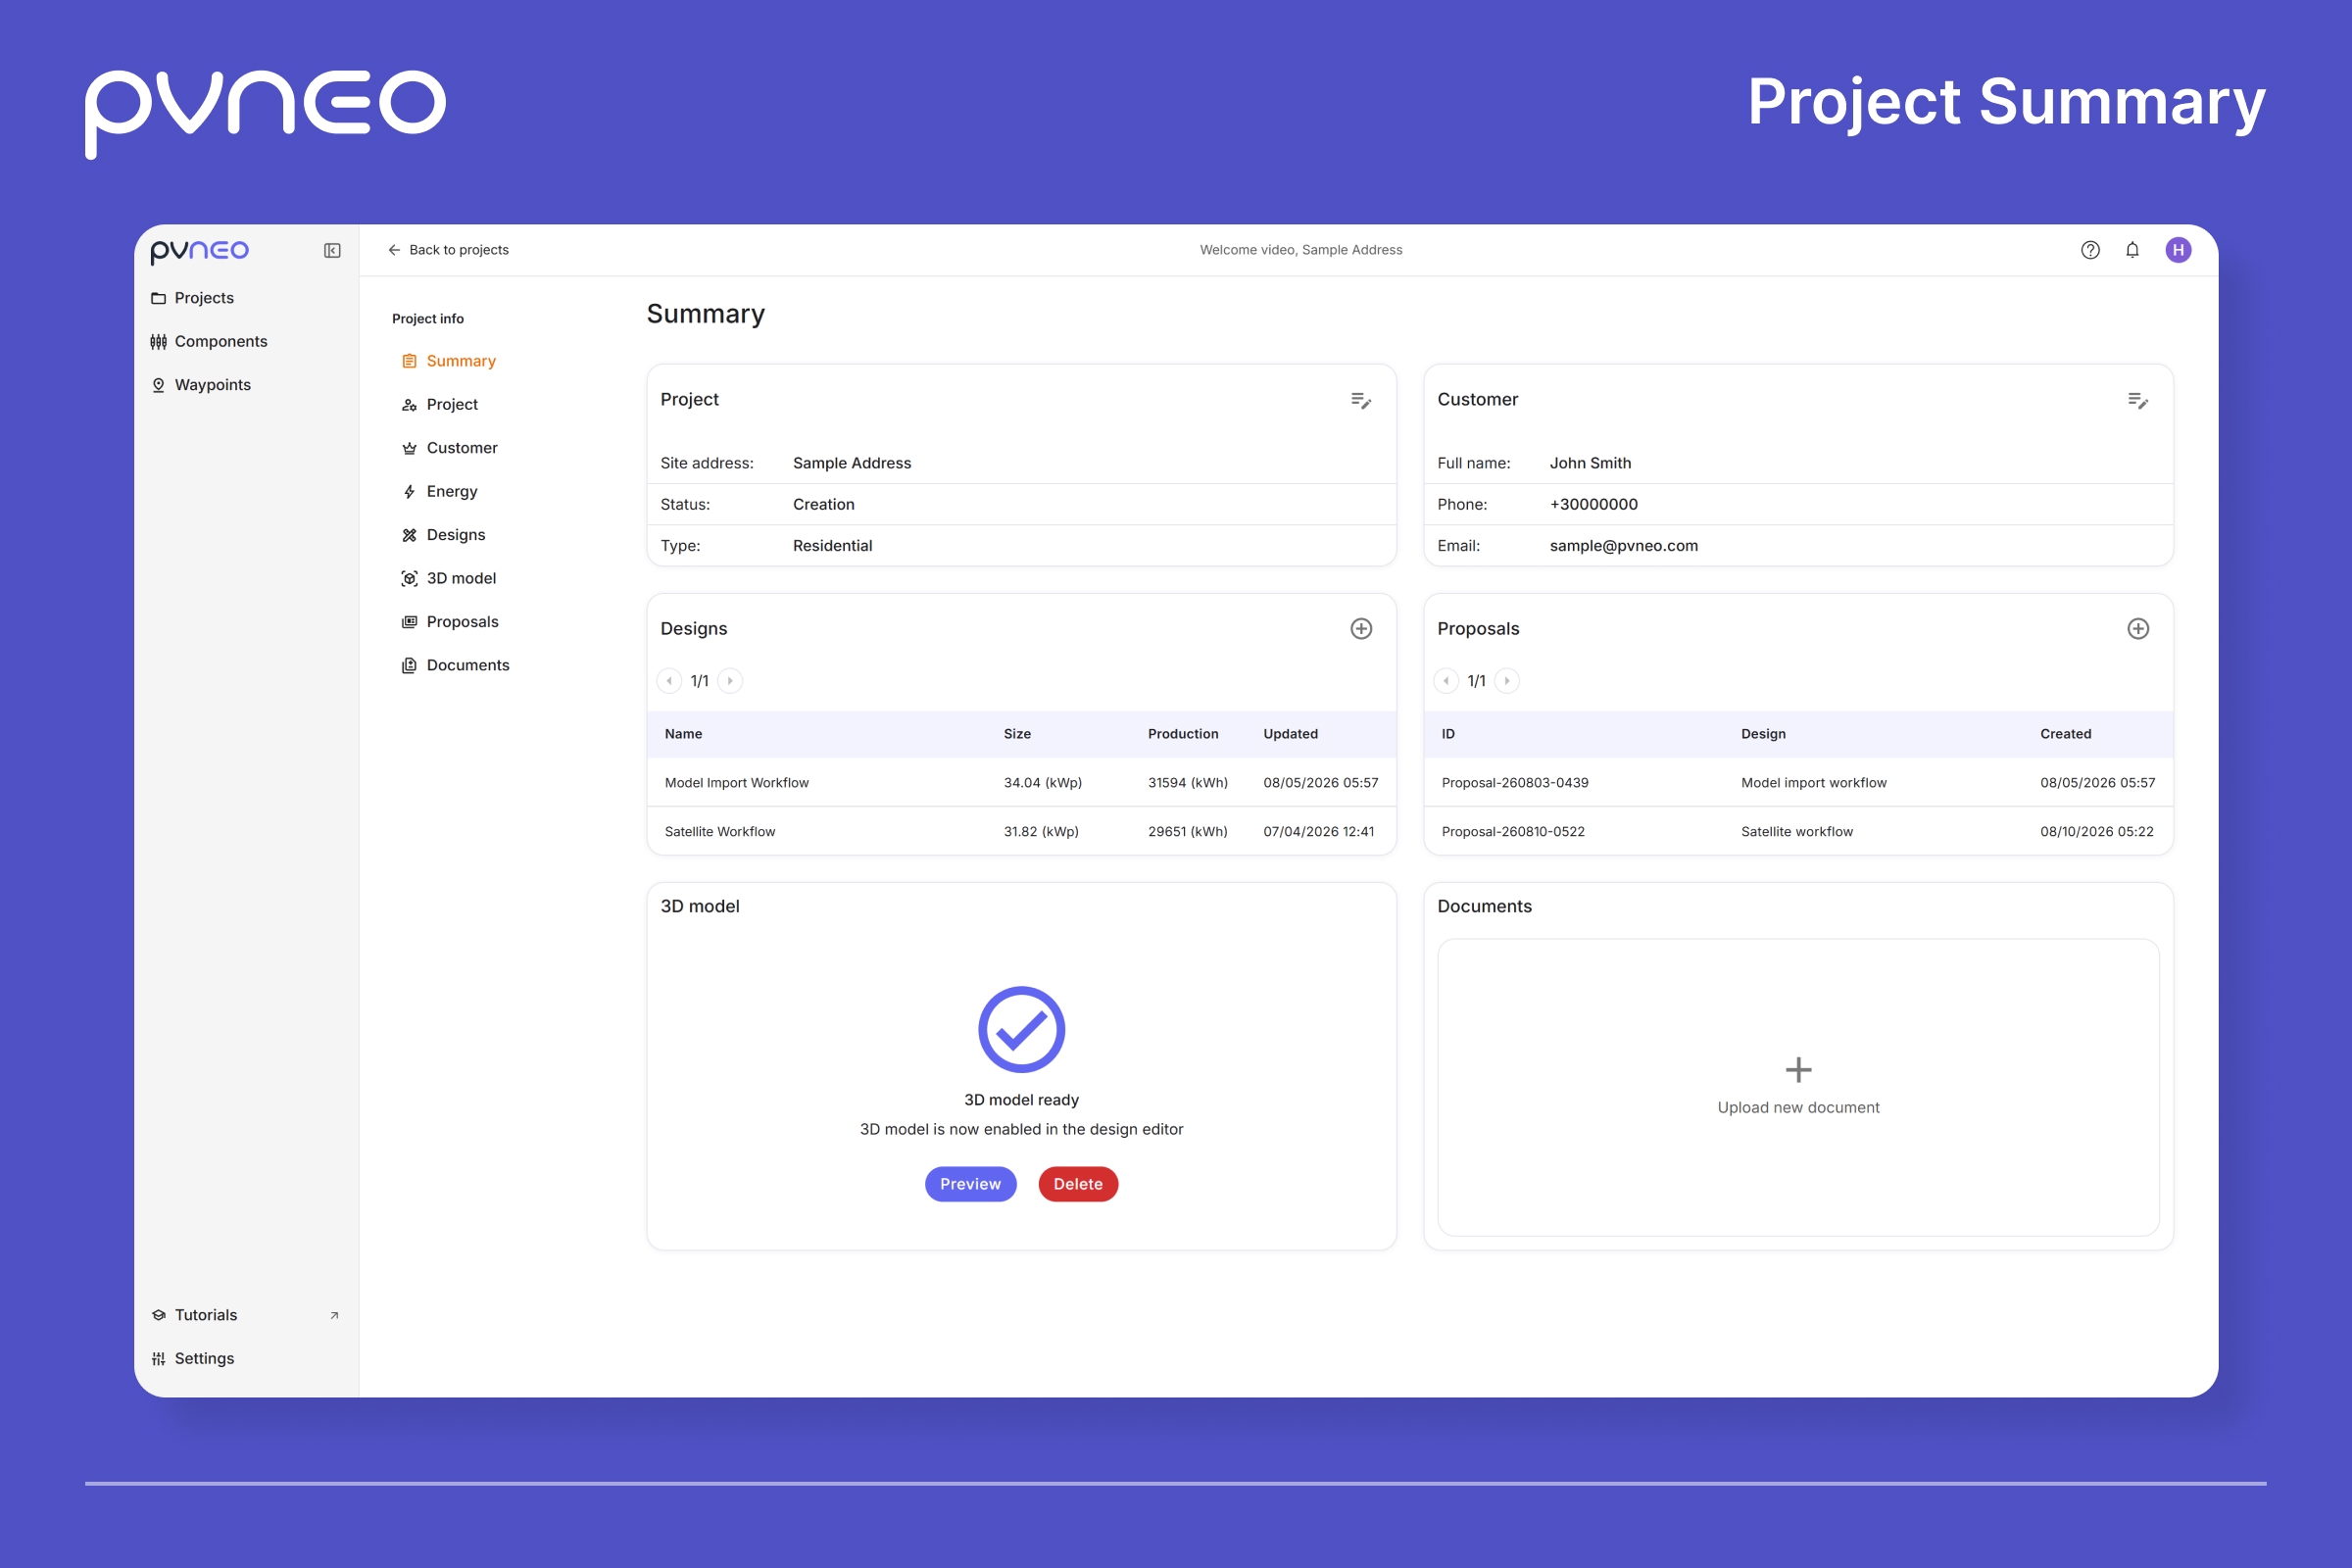
- One project can hold many designs. You can create more than one design for the same site and compare them side by side, handy for offering a customer options at different price points.
- Nothing here is final. The project name, address, type, customer details, and energy usage can all be edited later from inside the project.
- The workflow choice is not permanent either. When you create a new design, you can pick a different workflow than the one you started with.