
If you already have a 3D model of the site, you can bring it into Pvneo and design on it directly. This guide covers importing a model, aligning it to the map, and designing through to a production estimate. It also shows how a single project can hold more than one design.
Step 1: Open your project
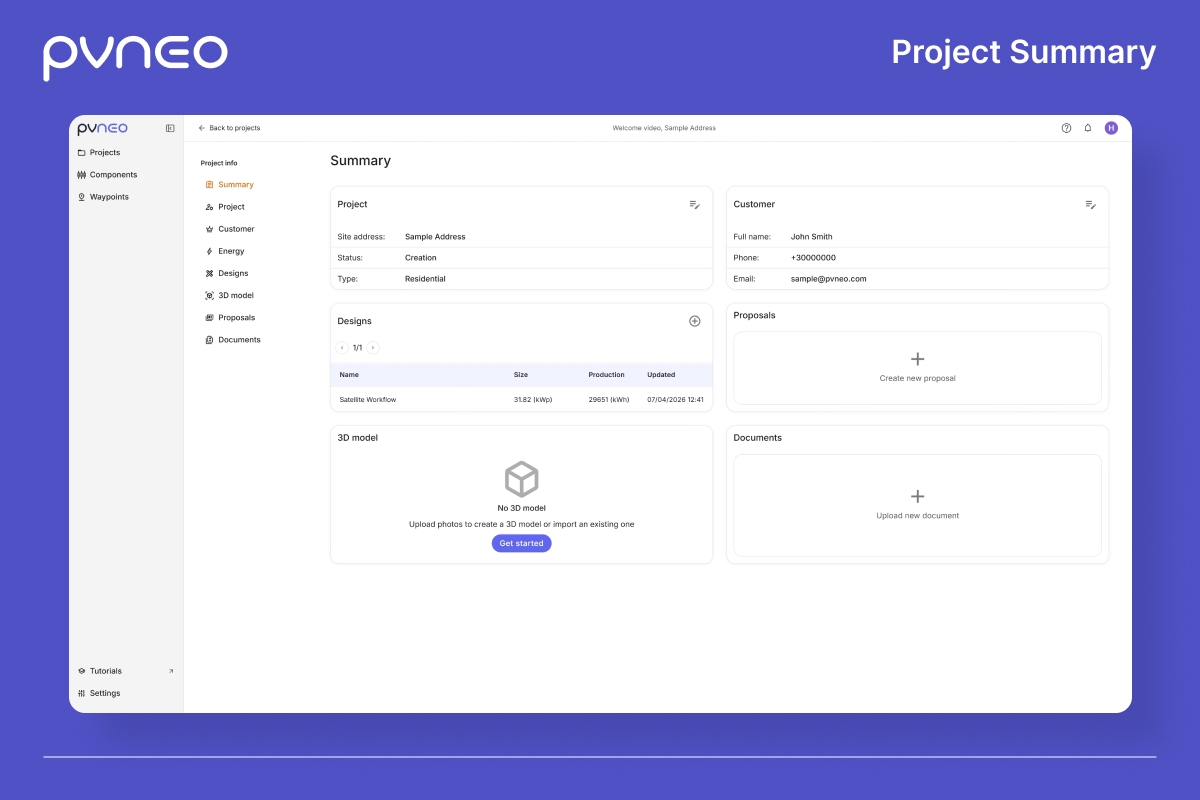
Open the project you want to work in and land on its Summary. A project can carry as many designs as you like, so you can approach the same site more than one way and keep the designs side by side. Here we will add a design built on an imported 3D model.
Step 2: Import the model
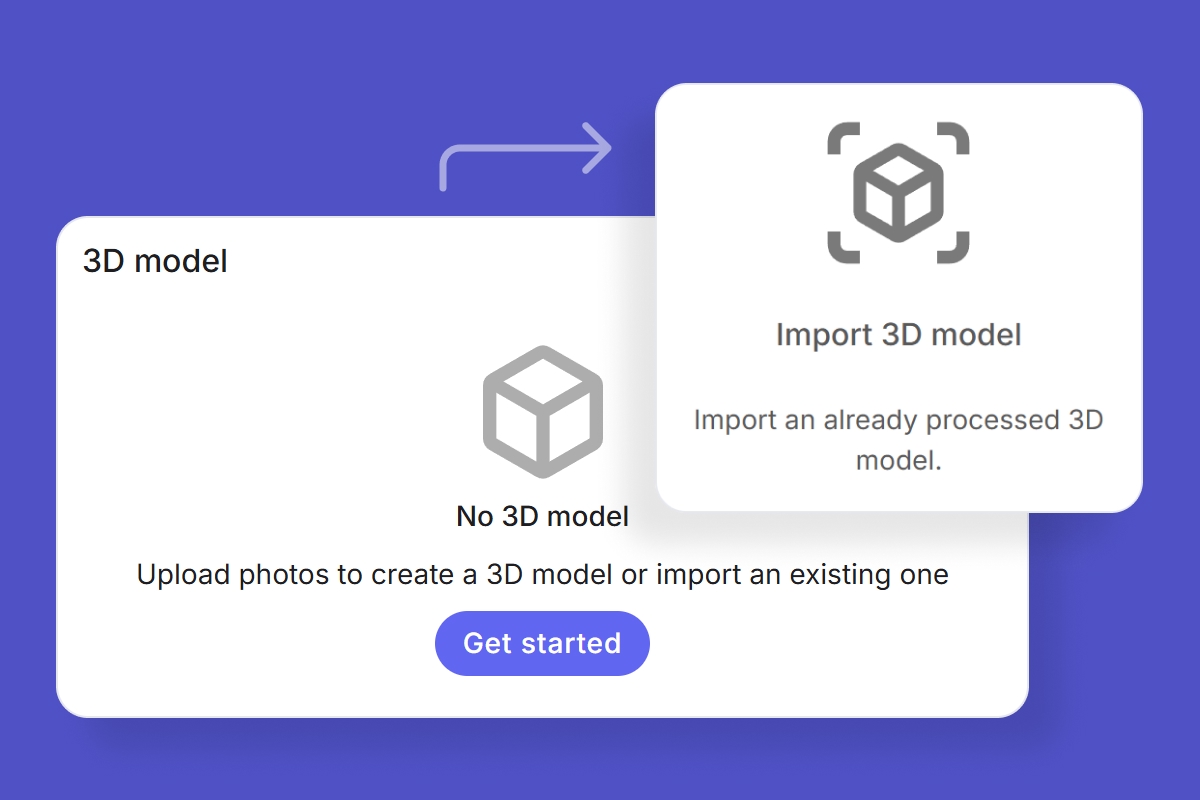
In the 3D model section, click Get started, which takes you to the project’s 3D model page. There are two ways to get a model here: Import a photo set builds one from photos (that is the photogrammetry workflow, covered in its own tutorial), and Import 3D model brings in a model that has already been processed. Choose Import 3D model. Pvneo asks for two files: the model itself, and a texture image. Add both, and once they have uploaded, click Import.
Step 3: Inspect the model
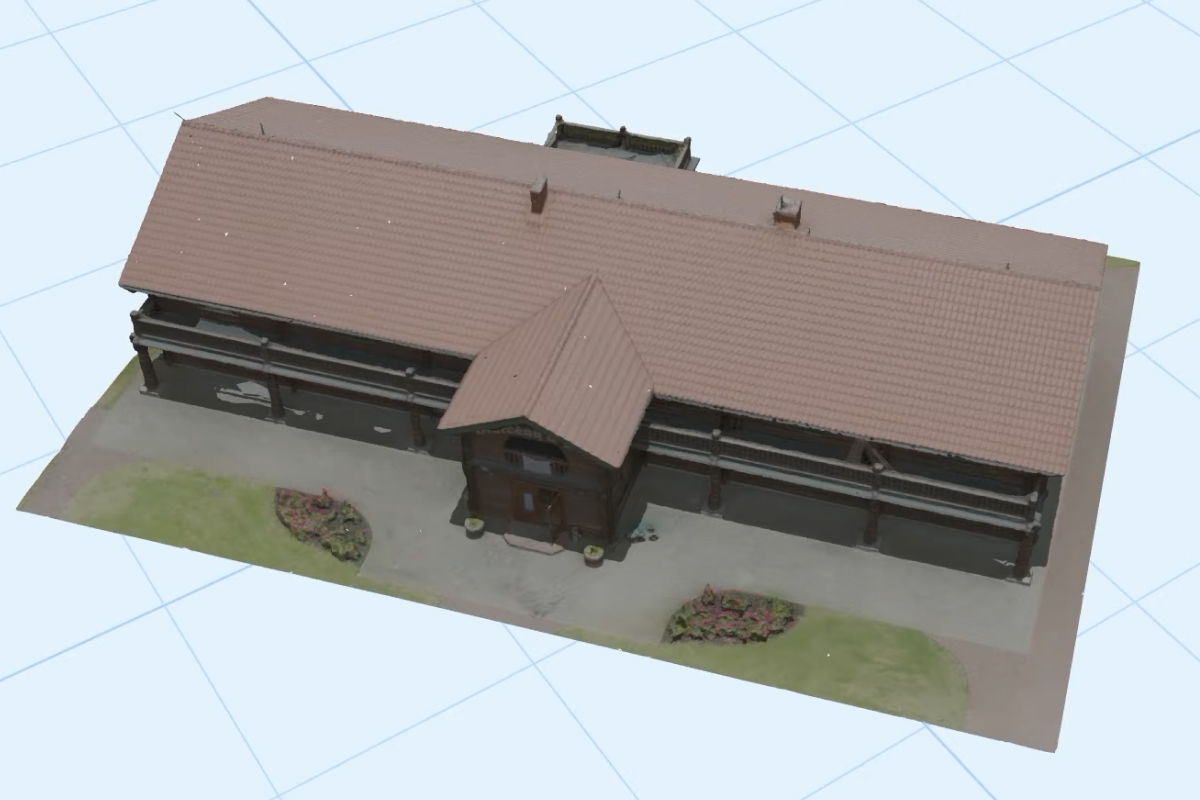
Give it a few seconds to load, and there it is. Orbit around the model to check it came in cleanly, download it if you need a copy, or delete it and start over. This is just the model, not a design yet, so the next step is to turn it into one.
Step 4: Create a design from it
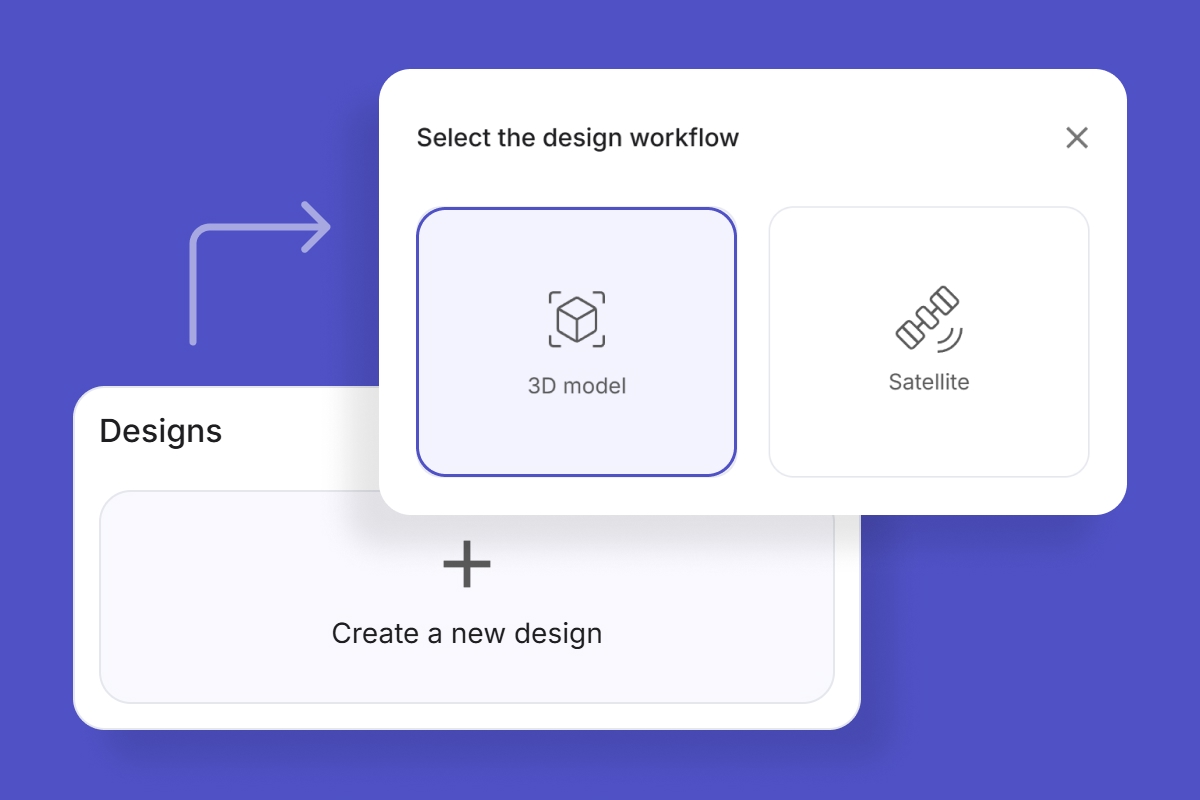
Back on the Summary, create a new design. Pvneo asks which workflow you want; choose 3D model. You land in the design editor with your model on the scene.
Step 5: Align the model to the map
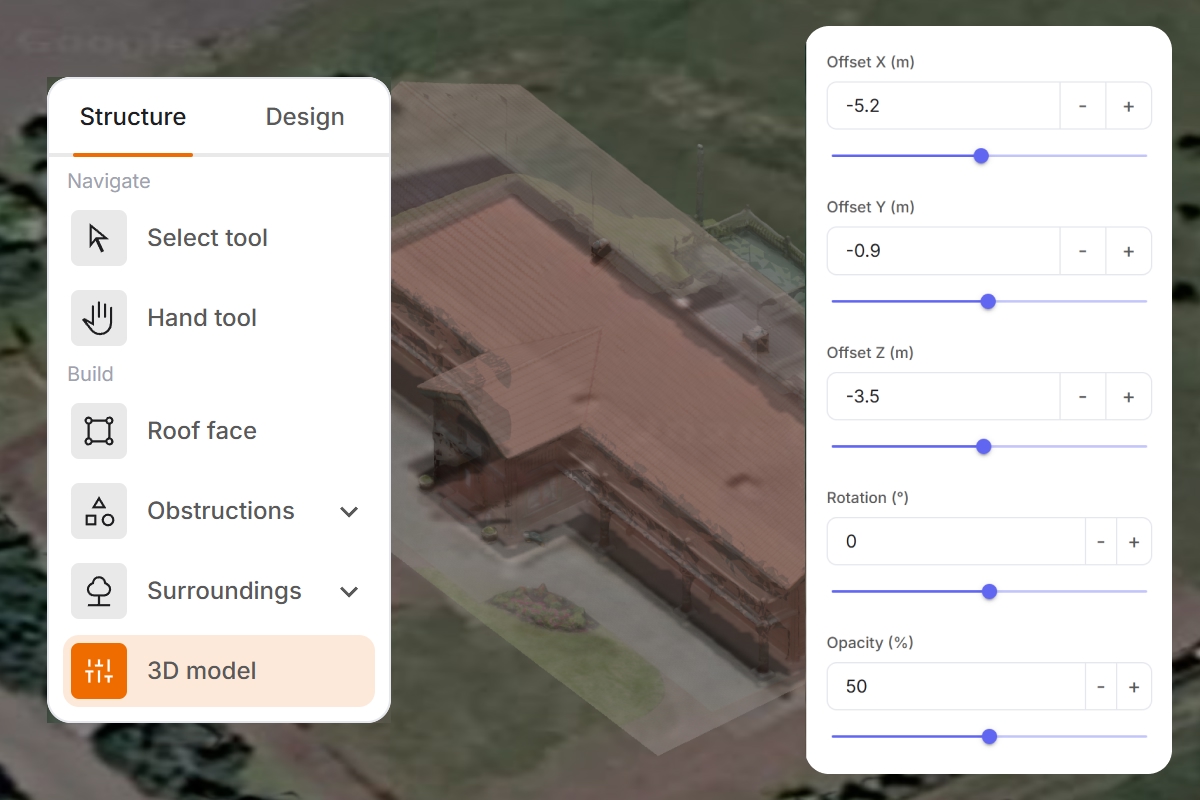
Because you are working with a 3D model, the toolbar has a 3D model tool, where you can align it. Dropping the opacity lets you see through the model to the map, and the X, Y, and Z offsets let you nudge it into place until the two line up.
Step 6: Draw the roof faces
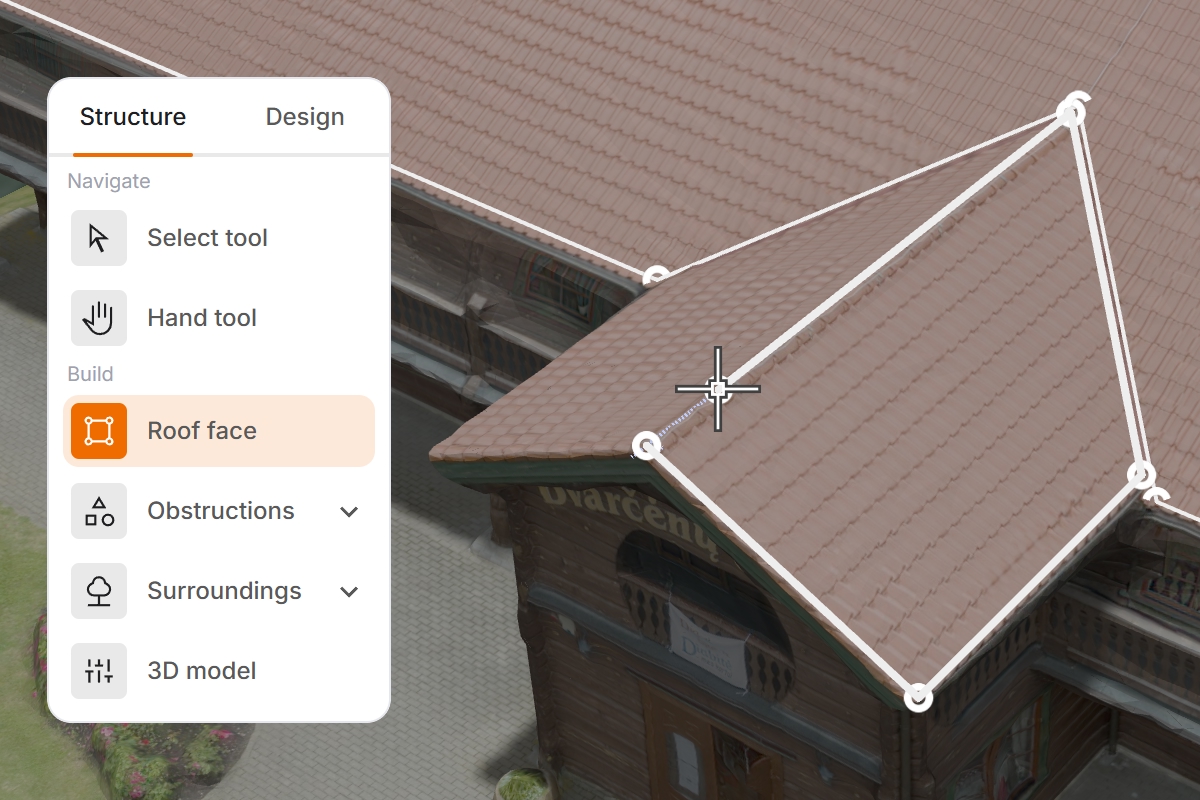
Draw the roof faces straight onto the model, tracing each plane of the roof as its own face. Because you are drawing on the actual 3D surface, each face already picks up the right slope and angle. The geometry is correct from the moment you draw it.
Step 7: Obstructions
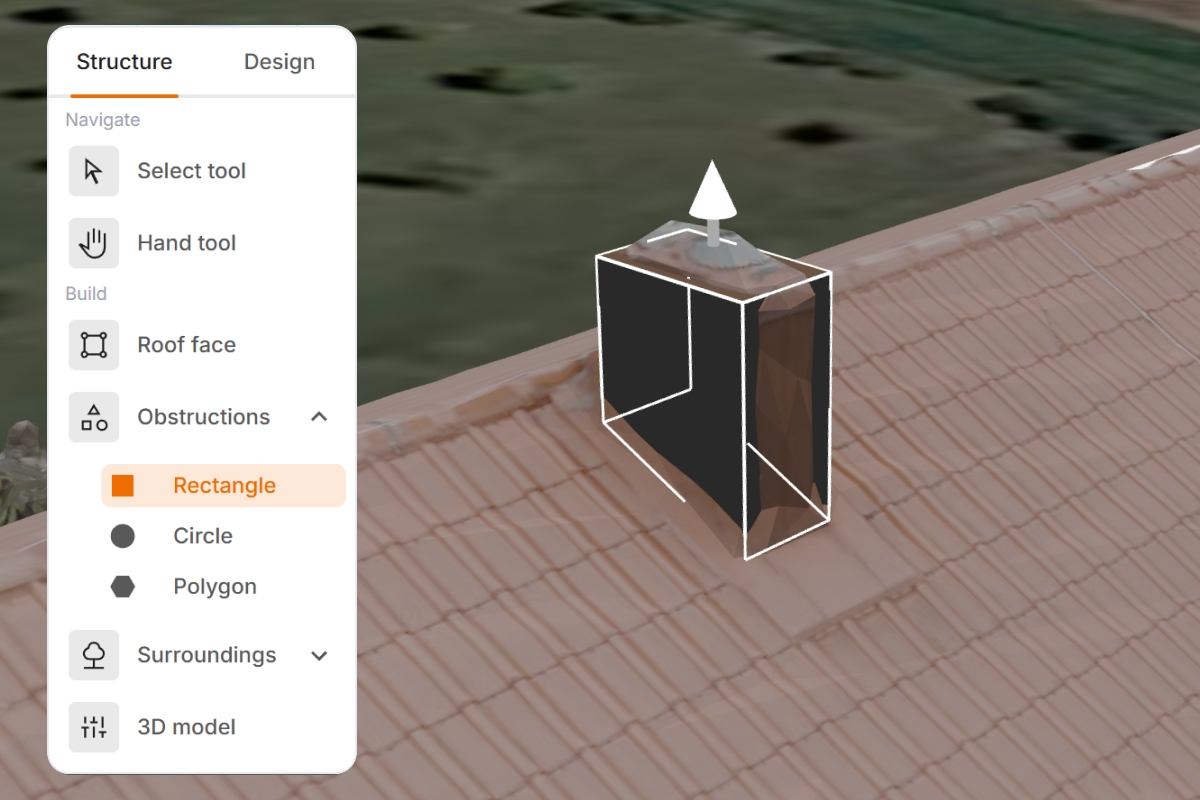
Obstructions are a judgment call. If chimneys and vents are already in the model, they will cast their own shade, so for the analysis you may not need them. But SmartFill only routes around obstructions you have actually drawn, so if you want the auto-fill to keep clear of something, draw it in. And anything missing, you can add by hand.
Step 8: Add surroundings
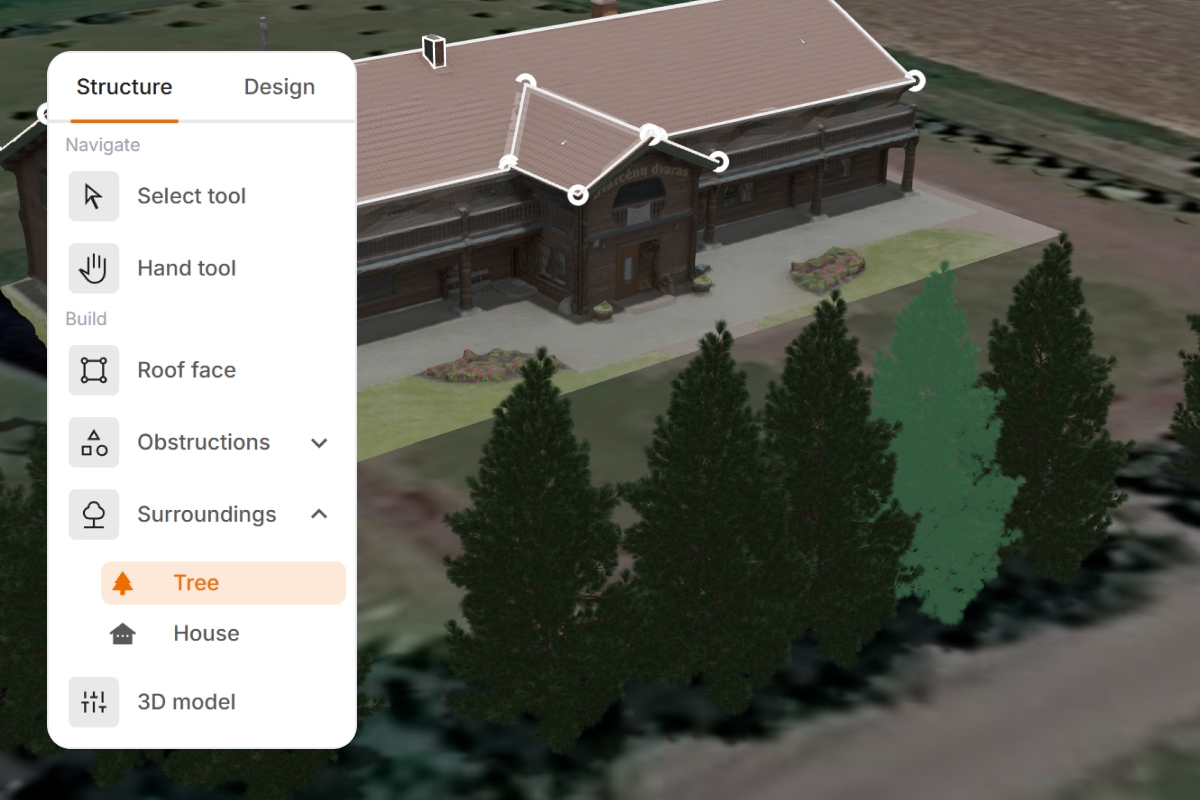
Add the surroundings, the nearby trees that throw shade across the roof at different times of day, and Pvneo folds that into the analysis. Remember to save your design as you go.
Step 9: Run the irradiance analysis
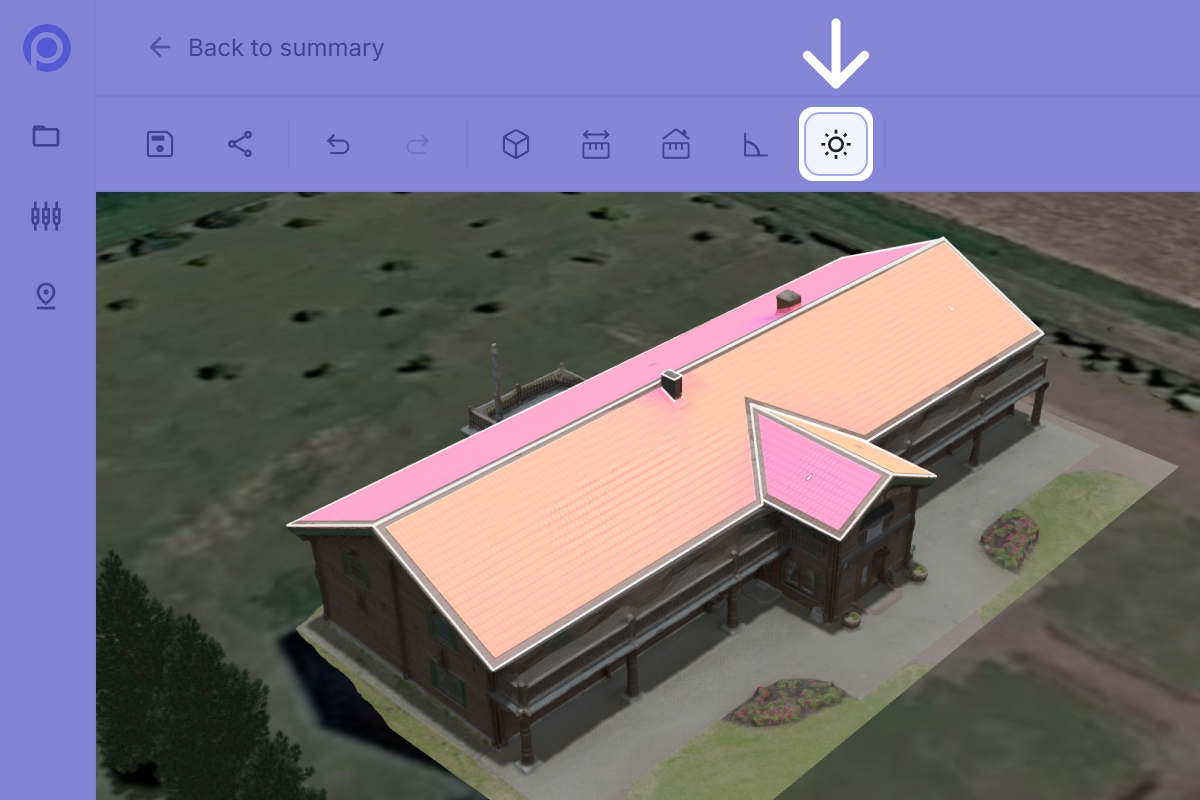
Run the irradiance analysis. Pvneo maps where the sun actually lands across the roof, and the warmer areas are where panels will perform best, so you know the strong spots before placing a single one.
Step 10: Place the panels
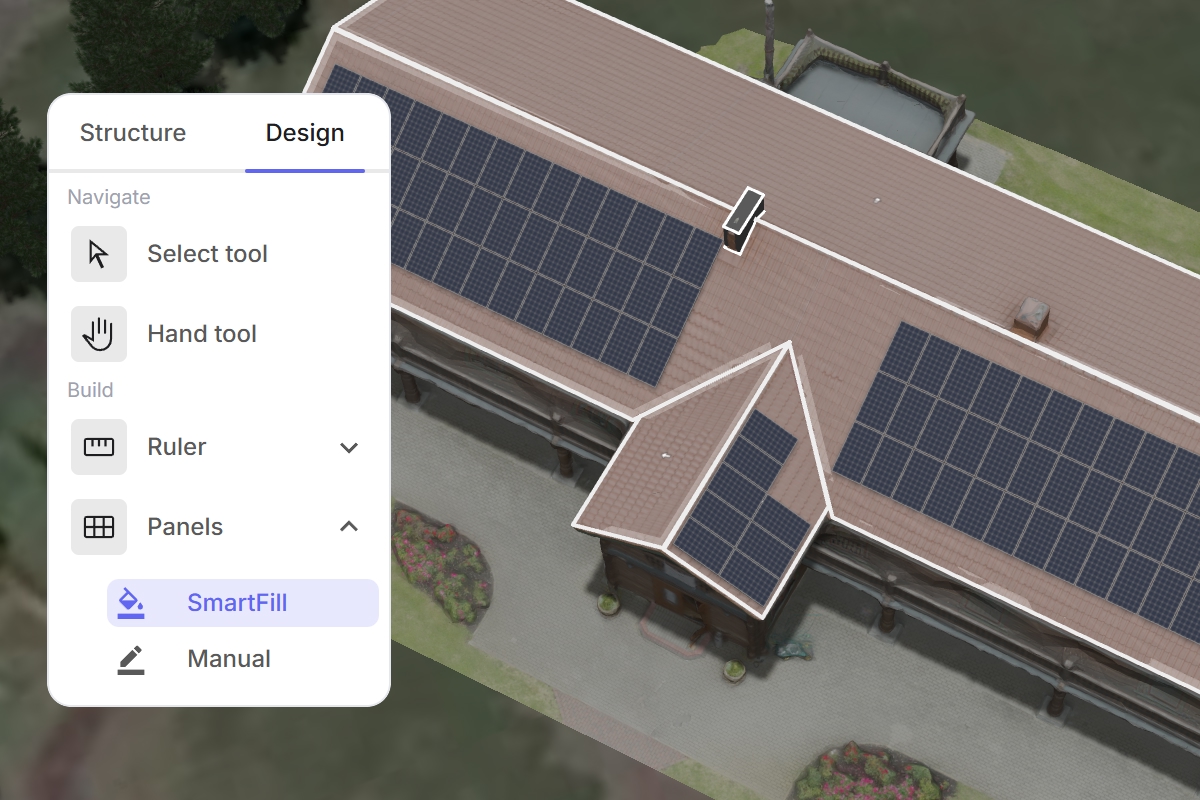
Switch to design mode for the panels. Start with SmartFill, which lays out a full set in one step. From there, make it yours: select and drag a panel to reposition it, delete any you do not want, and add a few by hand where there is room.
Step 11: Simulate
When the layout is set, press Simulate for the first-year production, the number your client cares about, and the one that carries straight into the proposal.

Good to know
- One project, many designs. Your satellite design and your model-import design can live side by side in the same project.
- Bring your own model. Import a model from a scan, from CAD, or from an existing 3D visualization.
- The finish is the same as satellite. Once the model is in place, drawing, analyzing, and paneling work just like the satellite workflow.