
The satellite workflow is Pvneo’s fastest way to design. You draw the roof straight onto satellite imagery, Pvneo turns it into a 3D model, and you design your system on it, all the way to a first-year production estimate.
This guide picks up after you have created a project and completed the setup wizard (see the Welcome tutorial), so you are looking down at the site in satellite view, ready to draw.
Step 1: Draw the roof faces
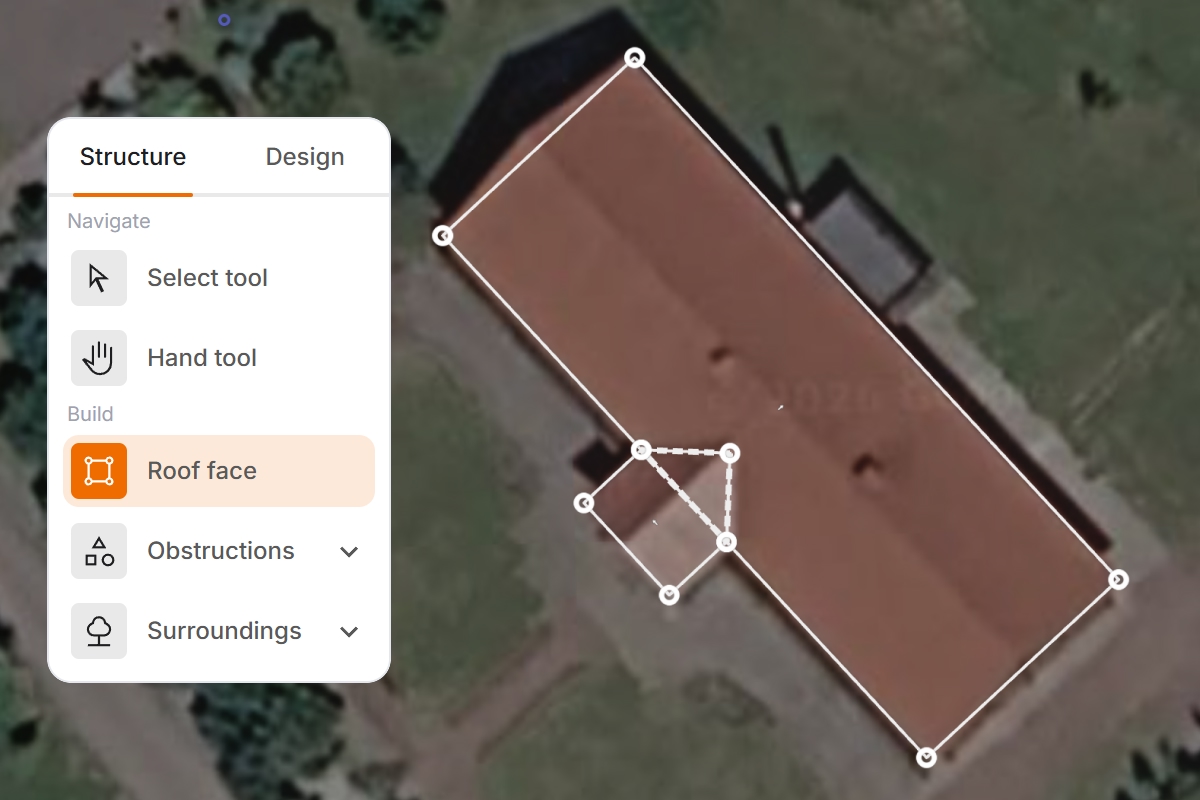
Select the Draw roof face tool. For the main roof, draw a simple rectangle over the largest plane, clicking corner to corner and closing the shape. Then add a smaller roof face for the secondary section, the same way. The idea is to trace each distinct plane of the roof as its own face.
Step 2: Clean up the outline
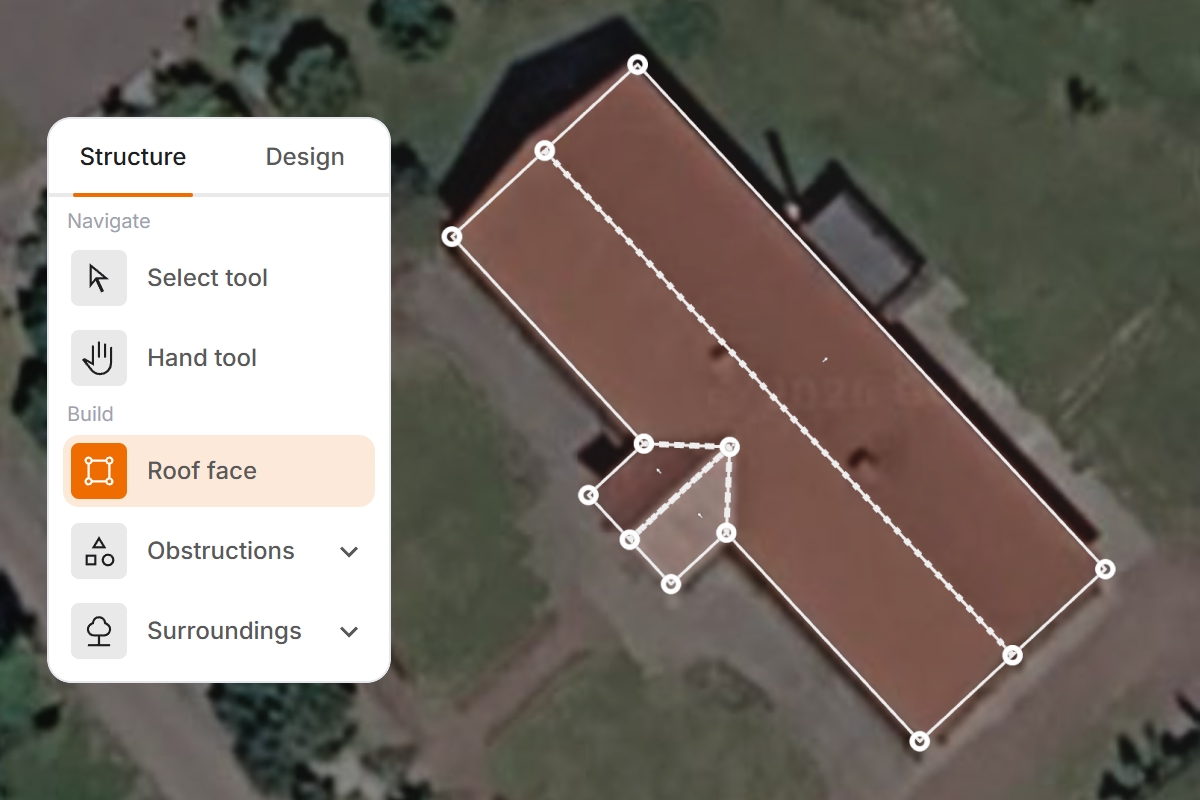
Real roofs aren’t always clean rectangles, so Pvneo gives you tools to shape them. If a face has an edge you don’t need, delete that edge to simplify the outline. And where one face actually covers two planes, split it into separate faces, so each part of the roof can carry its own height and tilt later. As you work, the canvas shows angle and length measurements on every edge; if they get busy, there is an option to hide them for a cleaner view.
Step 3: Draw obstructions
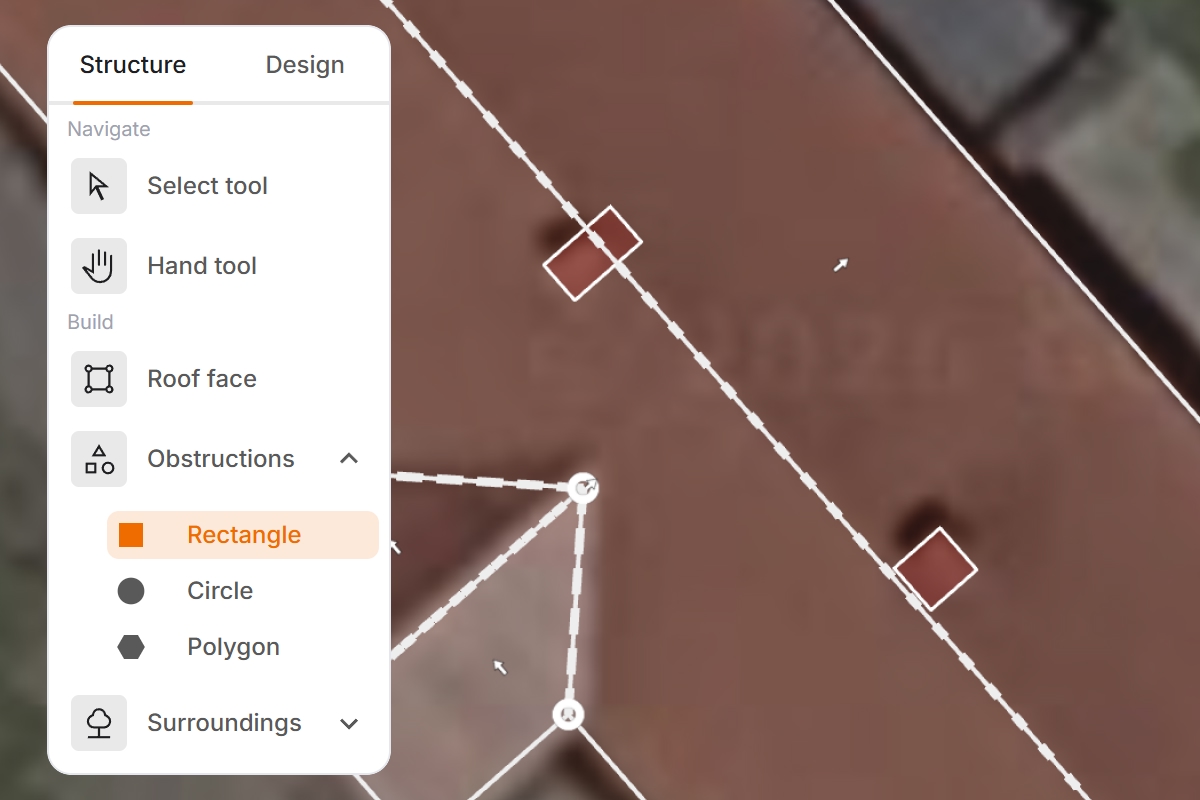
Draw anything panels cannot sit on or that casts shade, chimneys, vents, skylights. These matter later, because they affect both the sunlight analysis and where panels are allowed to go.
Step 4: Switch to 3D and extrude
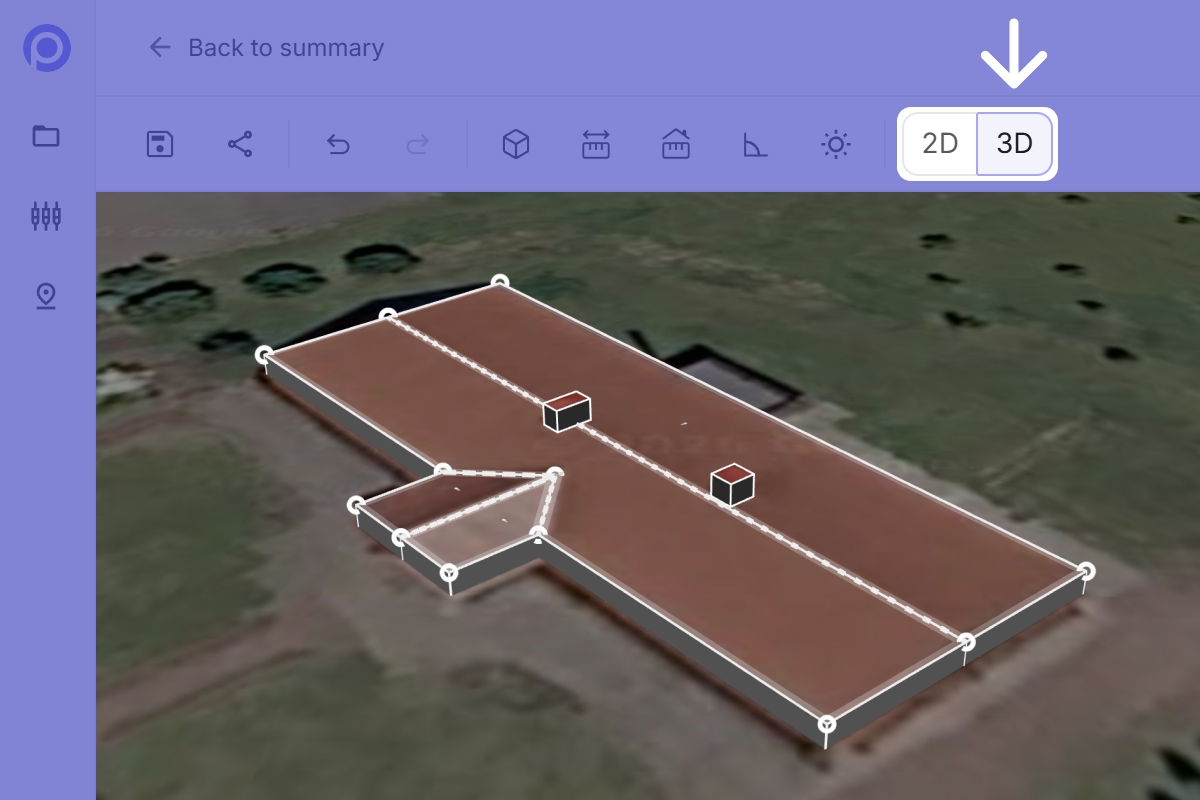
So far everything is flat on the map. Switch to 3D mode, and Pvneo extrudes the polygons for you, lifting the faces up into a real 3D model. Orbit the view and you can see the roof stand up off the ground.
Step 5: Set the height
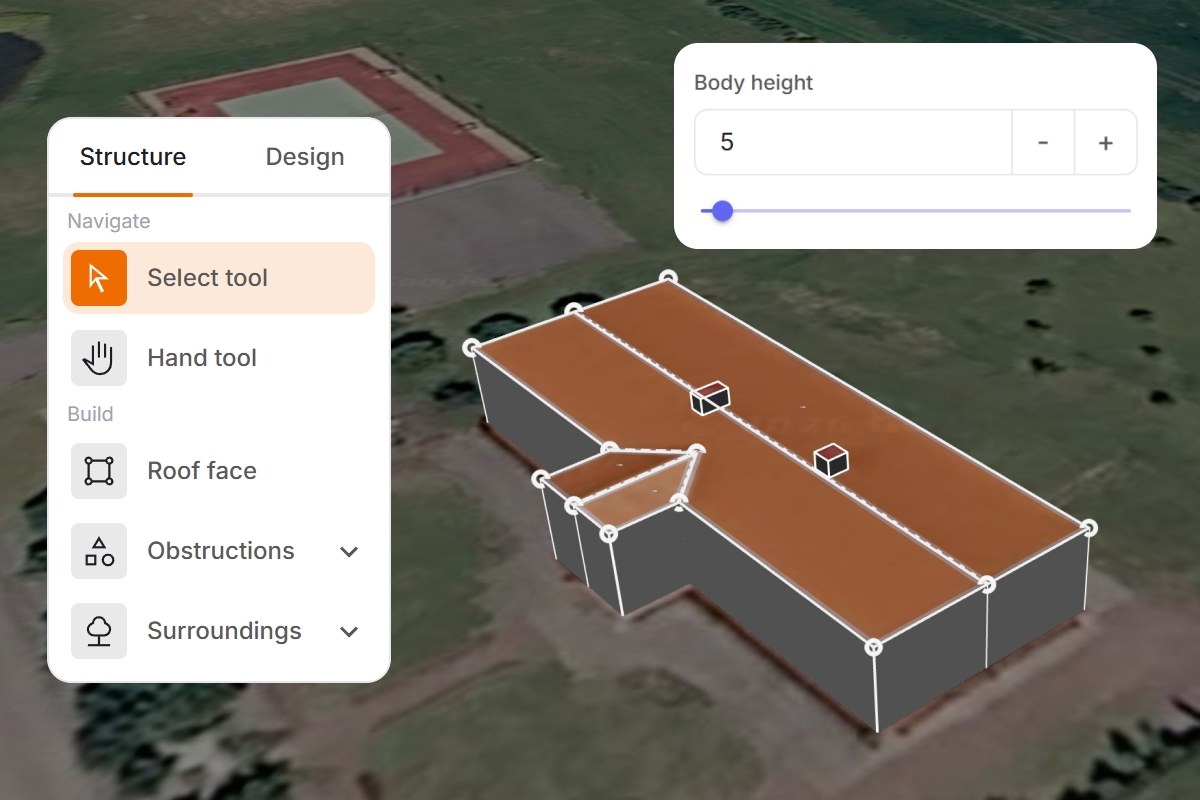
Multi-select all the roof faces, then click any one to open the properties, and set the height, so the whole roof is placed at the right level in one go.
Step 6: Set the tilt
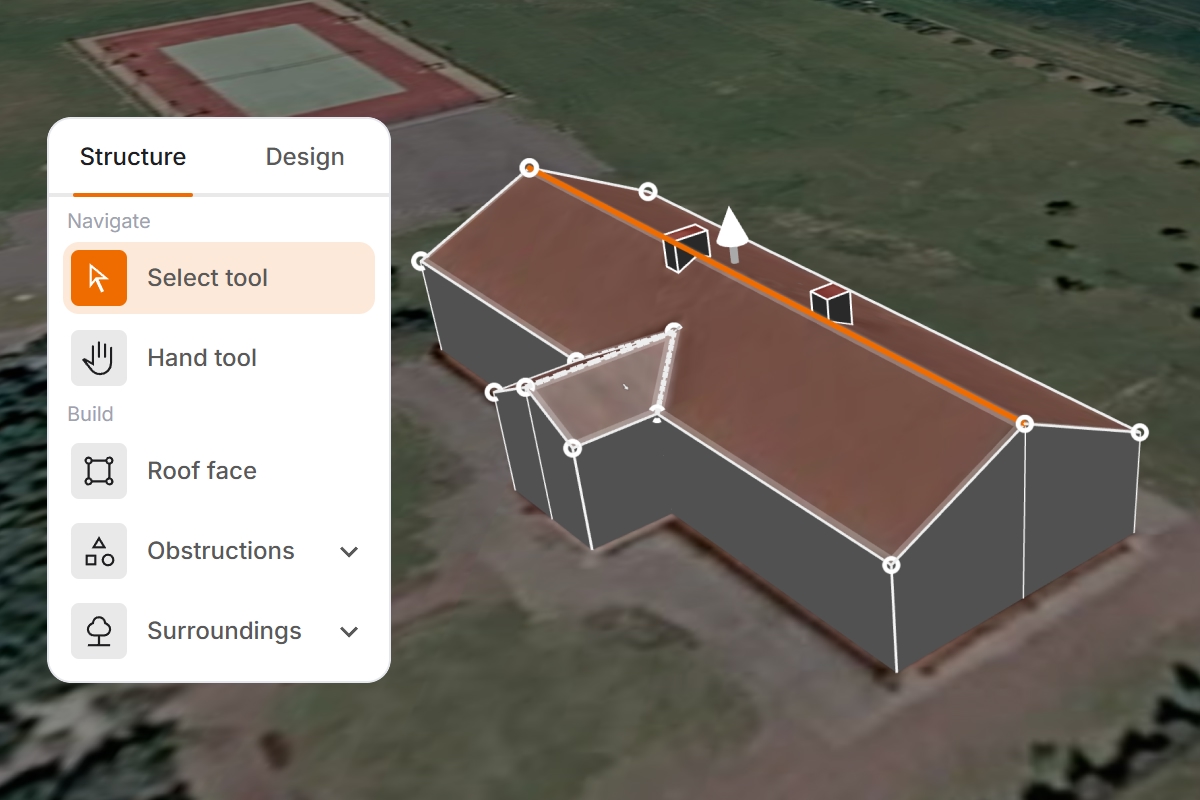
To pitch a roof face, select its middle line and grab the arrow, then drag it up until the face slopes the way the real roof does. If you know the exact tilt angle, you can type it straight into the properties instead. Then do the same for the other roof faces, so every plane has the correct pitch.
Step 7: Add surroundings
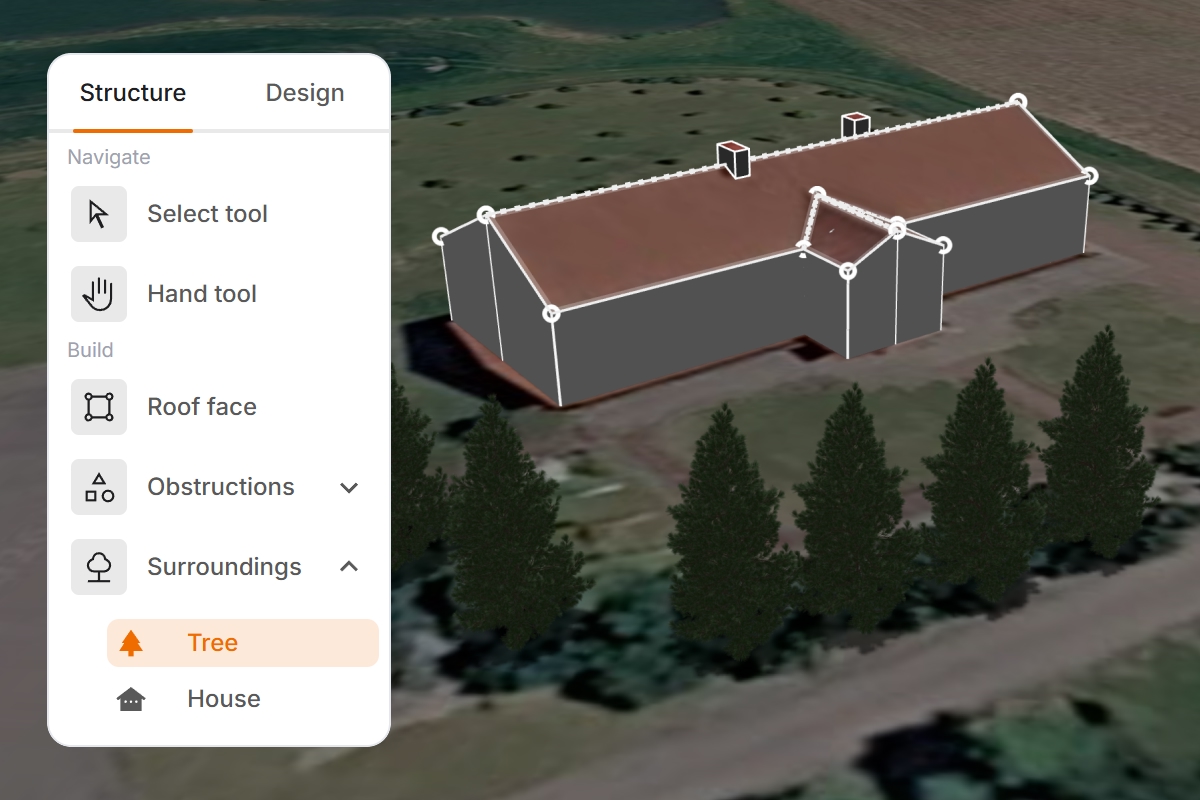
It is worth adding the surroundings too, things like nearby trees, since they can shade the roof at certain times of day, and Pvneo will factor them into the analysis. Remember to save your design as you go.
Step 8: Run the irradiance analysis
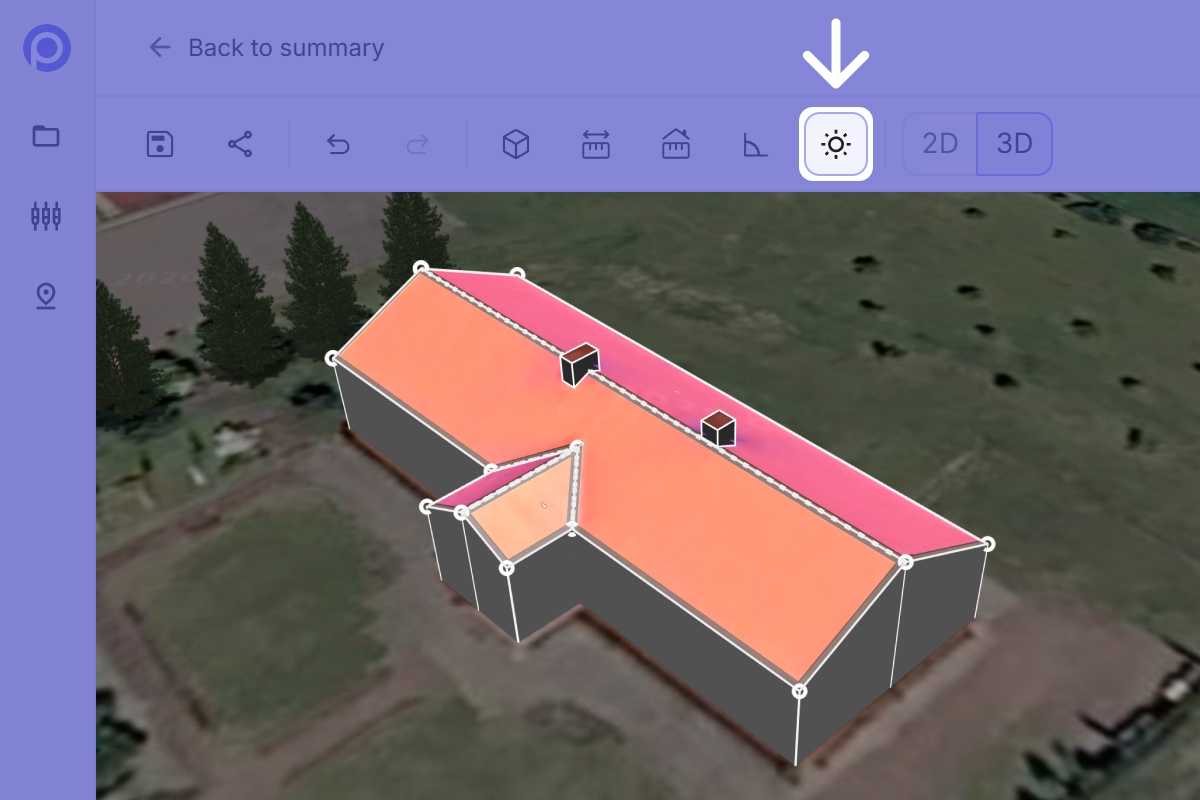
Run the irradiance analysis. Pvneo maps how much sun reaches each part of the roof, using the shapes, tilts, obstructions, and surroundings you set up. The warmer areas get the most sun, and as you move the mouse across the roof, you can read the solar access at any point, so you know exactly where panels will perform best before placing a single one.
Step 9: Place the panels
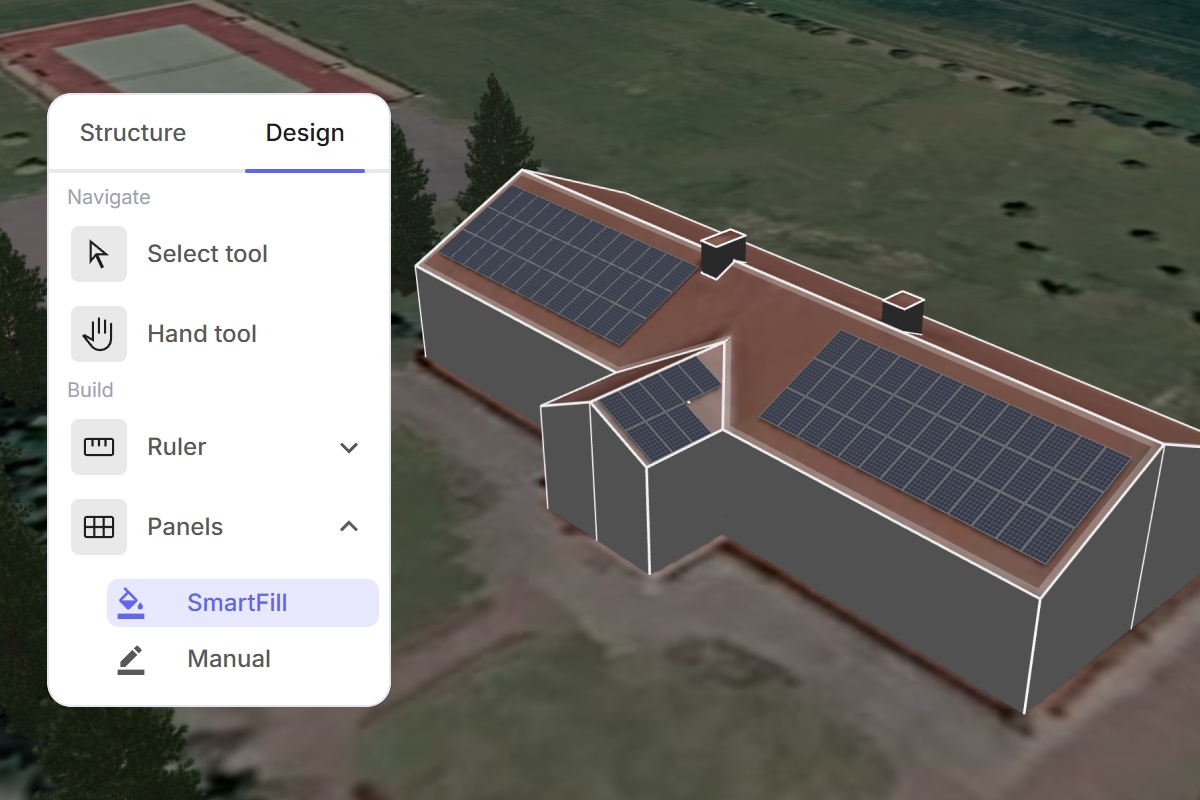
To lay out the panels, switch to design mode, select SmartFill, and Pvneo automatically fills the usable roof with a full layout in one step. You are never locked into that, though. You can also place panels by hand, adding, removing, or nudging them until the layout is exactly what you want. Take a moment to get familiar with the toolbar, you’ll be switching between Select and the Panels tool a lot, and remember to save as you go.
Step 10: Simulate production
Once the panels are in place, press Simulate to get the first-year production, the estimated energy this system will generate in year one. That is the number your client cares about, and it flows straight into the proposal.

Good to know
- Irradiance runs in either mode once at least one roof face is drawn.
- SmartFill is a starting point, not a cage. Adjust the layout by hand whenever you want.
- New to working in 3D? See the short 3D view navigation tutorial for panning, zooming, and orbiting.